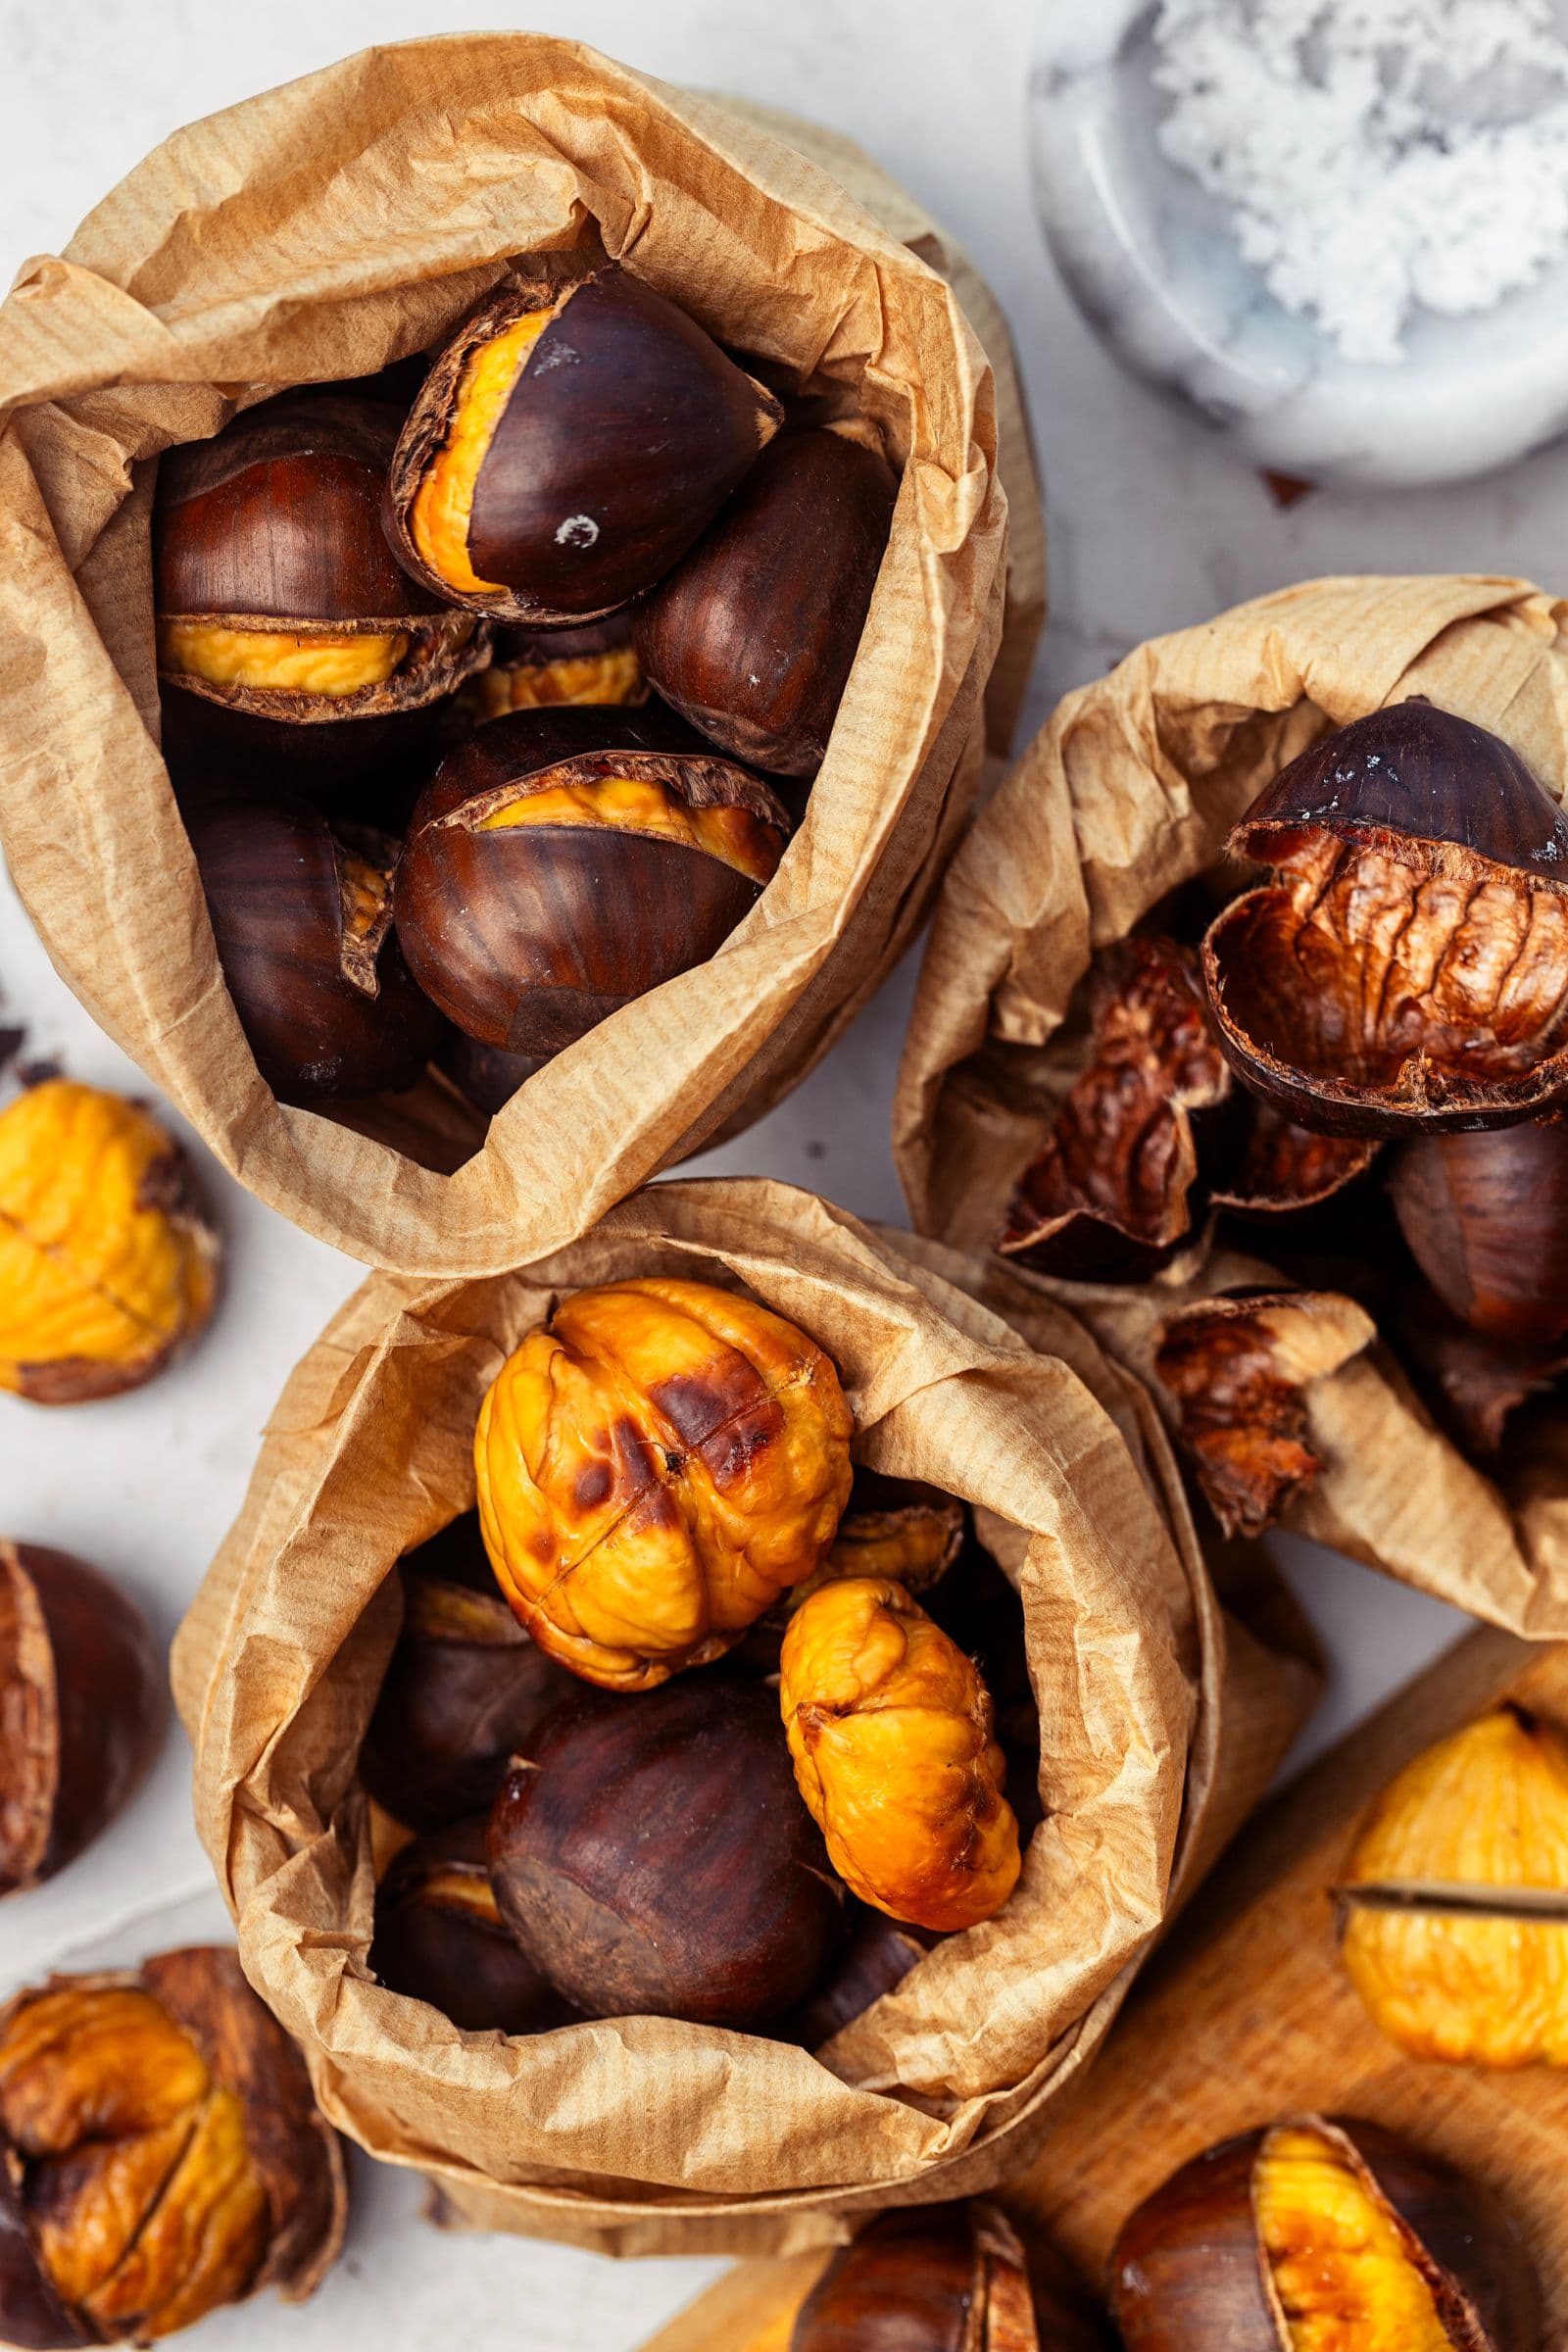
• Instagram
  • Facebook
  • Pinterest
  • Youtube

HAZELNUT, BANANA & CHOCOLATE CHIP GRANOLA BARS

Stacked granola bars with hazelnuts, banana chips and chocolate chips on parchment.

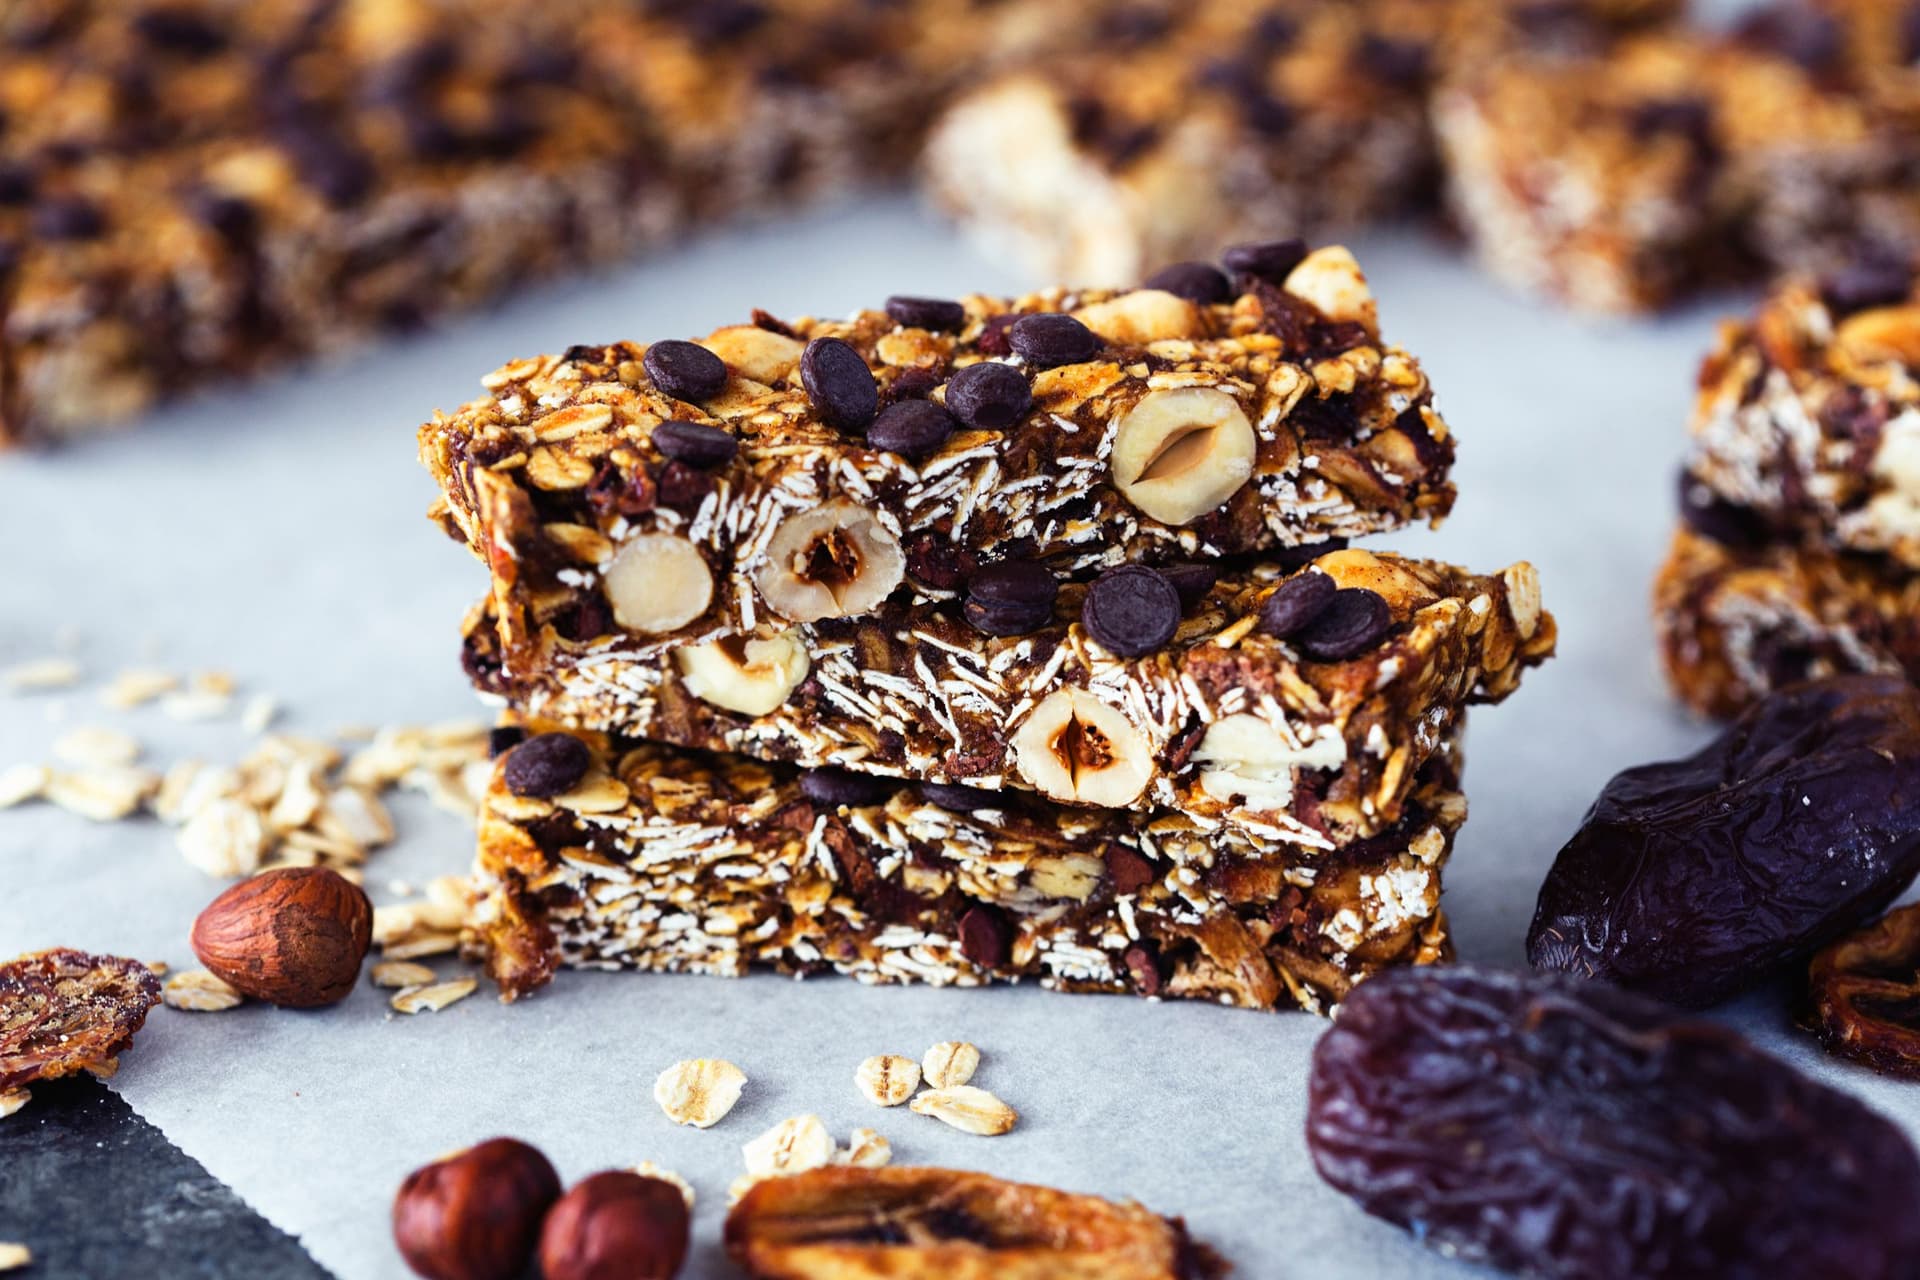
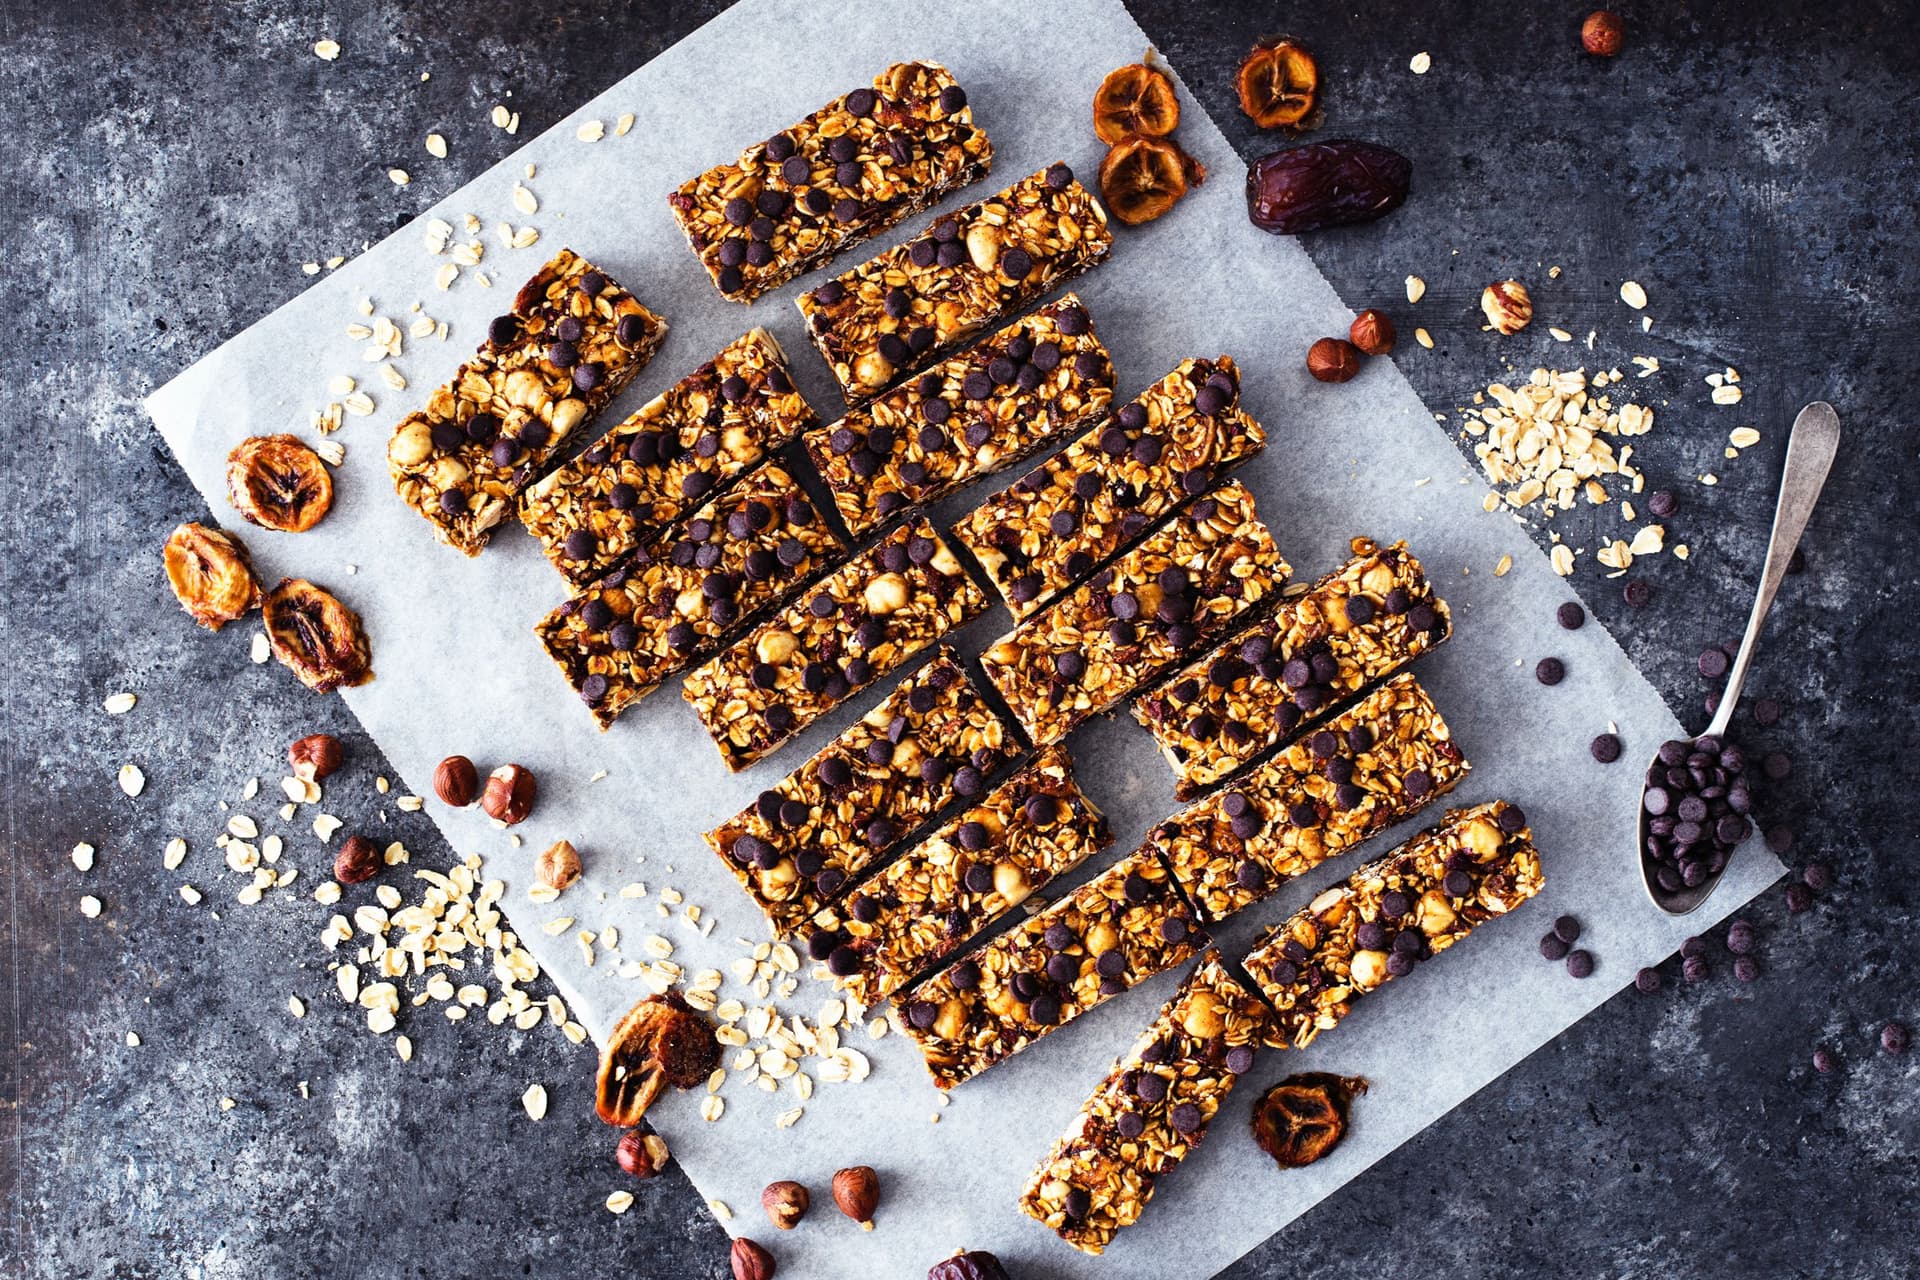
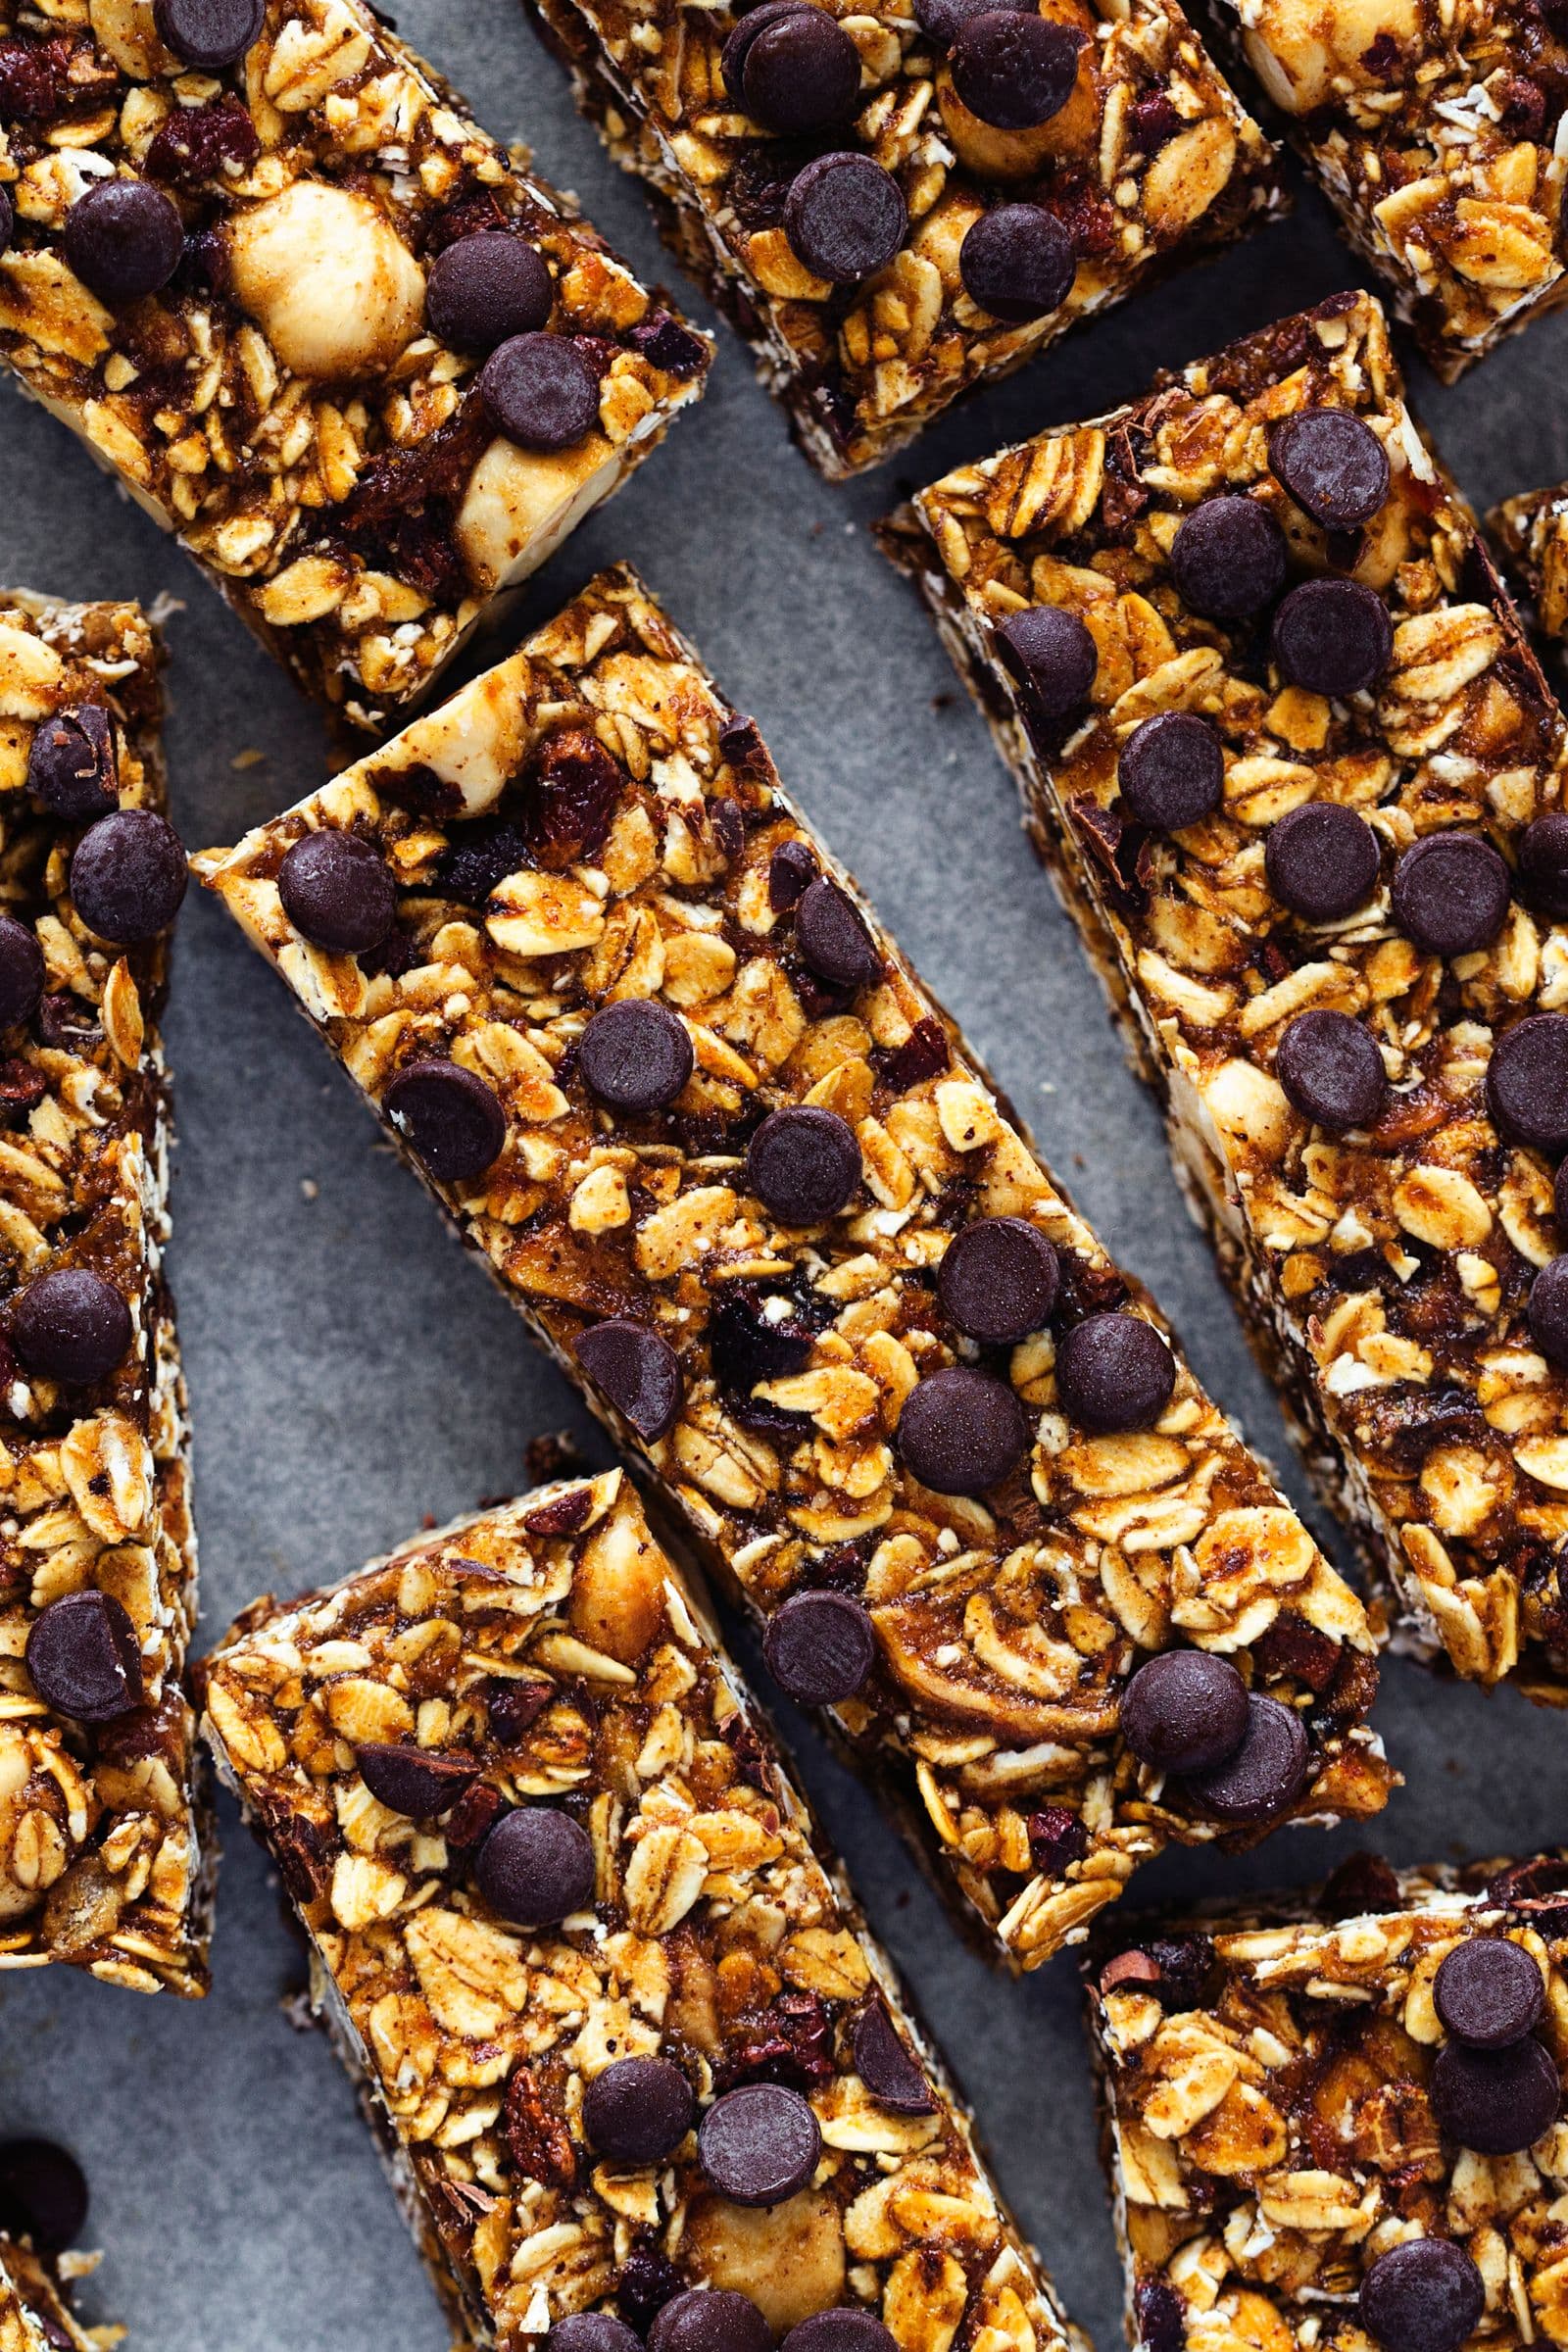
Sweet, mellow, gooey, chewy... Yet deliciously crunchy? Make space for these Hazelnut, Banana & Chocolate Chip Granola Bars in your pantry and belly!

Hello everyone! This is Rita here. If you've been keeping up with us, you're probably happy to see we're FINALLY creating new snack recipes. See, we've got enough breakfasts, lunches, dinners, desserts and basics to keep you interested for a little while... But what about snacking? Truth is we always have delicious, healthy and satisfying treats and snacks in our pantry and fridge and there's really no valid reason as to why we haven't started sharing more of those with you. We've even had a few friends and readers specifically ask us for granola bars... So here they are!

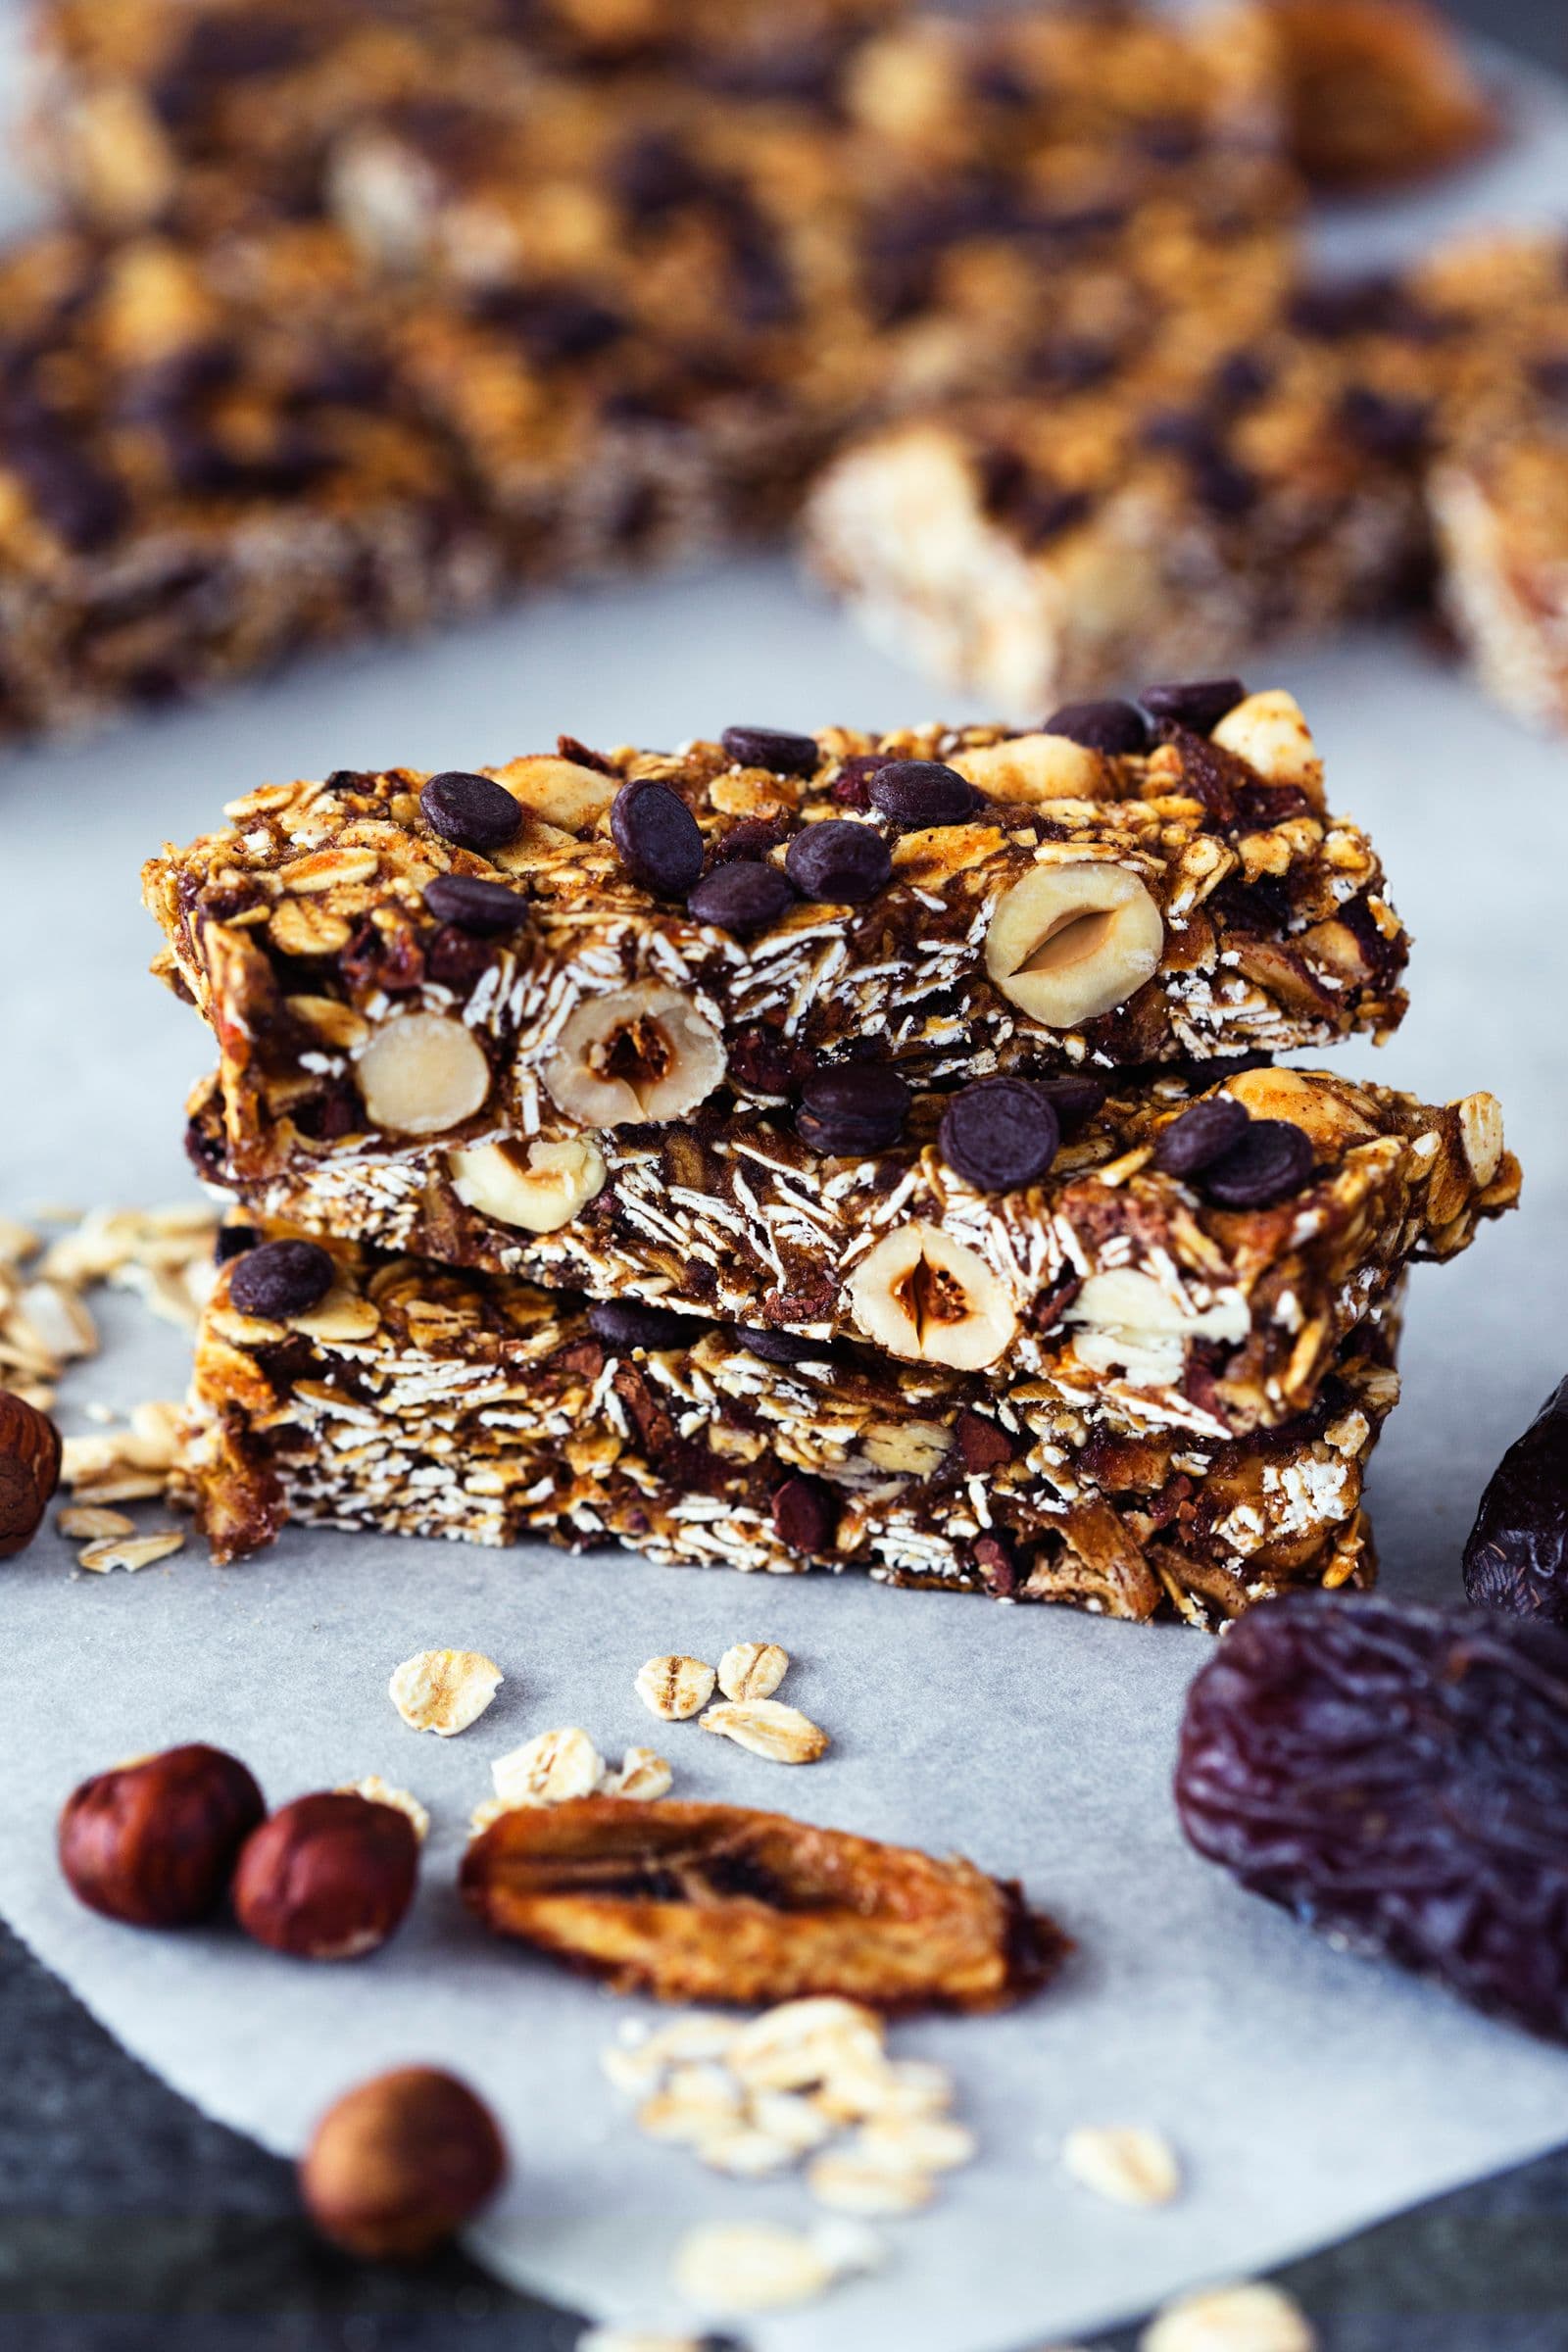
I've loved the classic combo of hazelnut, banana and chocolate ever since I can remember. A couple of years ago you would find me indulging on huge stacks of (non-vegan) pancakes topped with buttloads of nutella and sliced bananas, with little to no concern whether this was a healthy snacking option or not. Fast forward to right about now and I might even enjoy this combo more thanks to all the plant-based, whole foods alternatives. I'm always looking for new ways to combine these three flavourful ingredients (at some point, there might even be a Hazelnut, Banana & Chocolate Marble Cake?) and these bars just hit the spot.

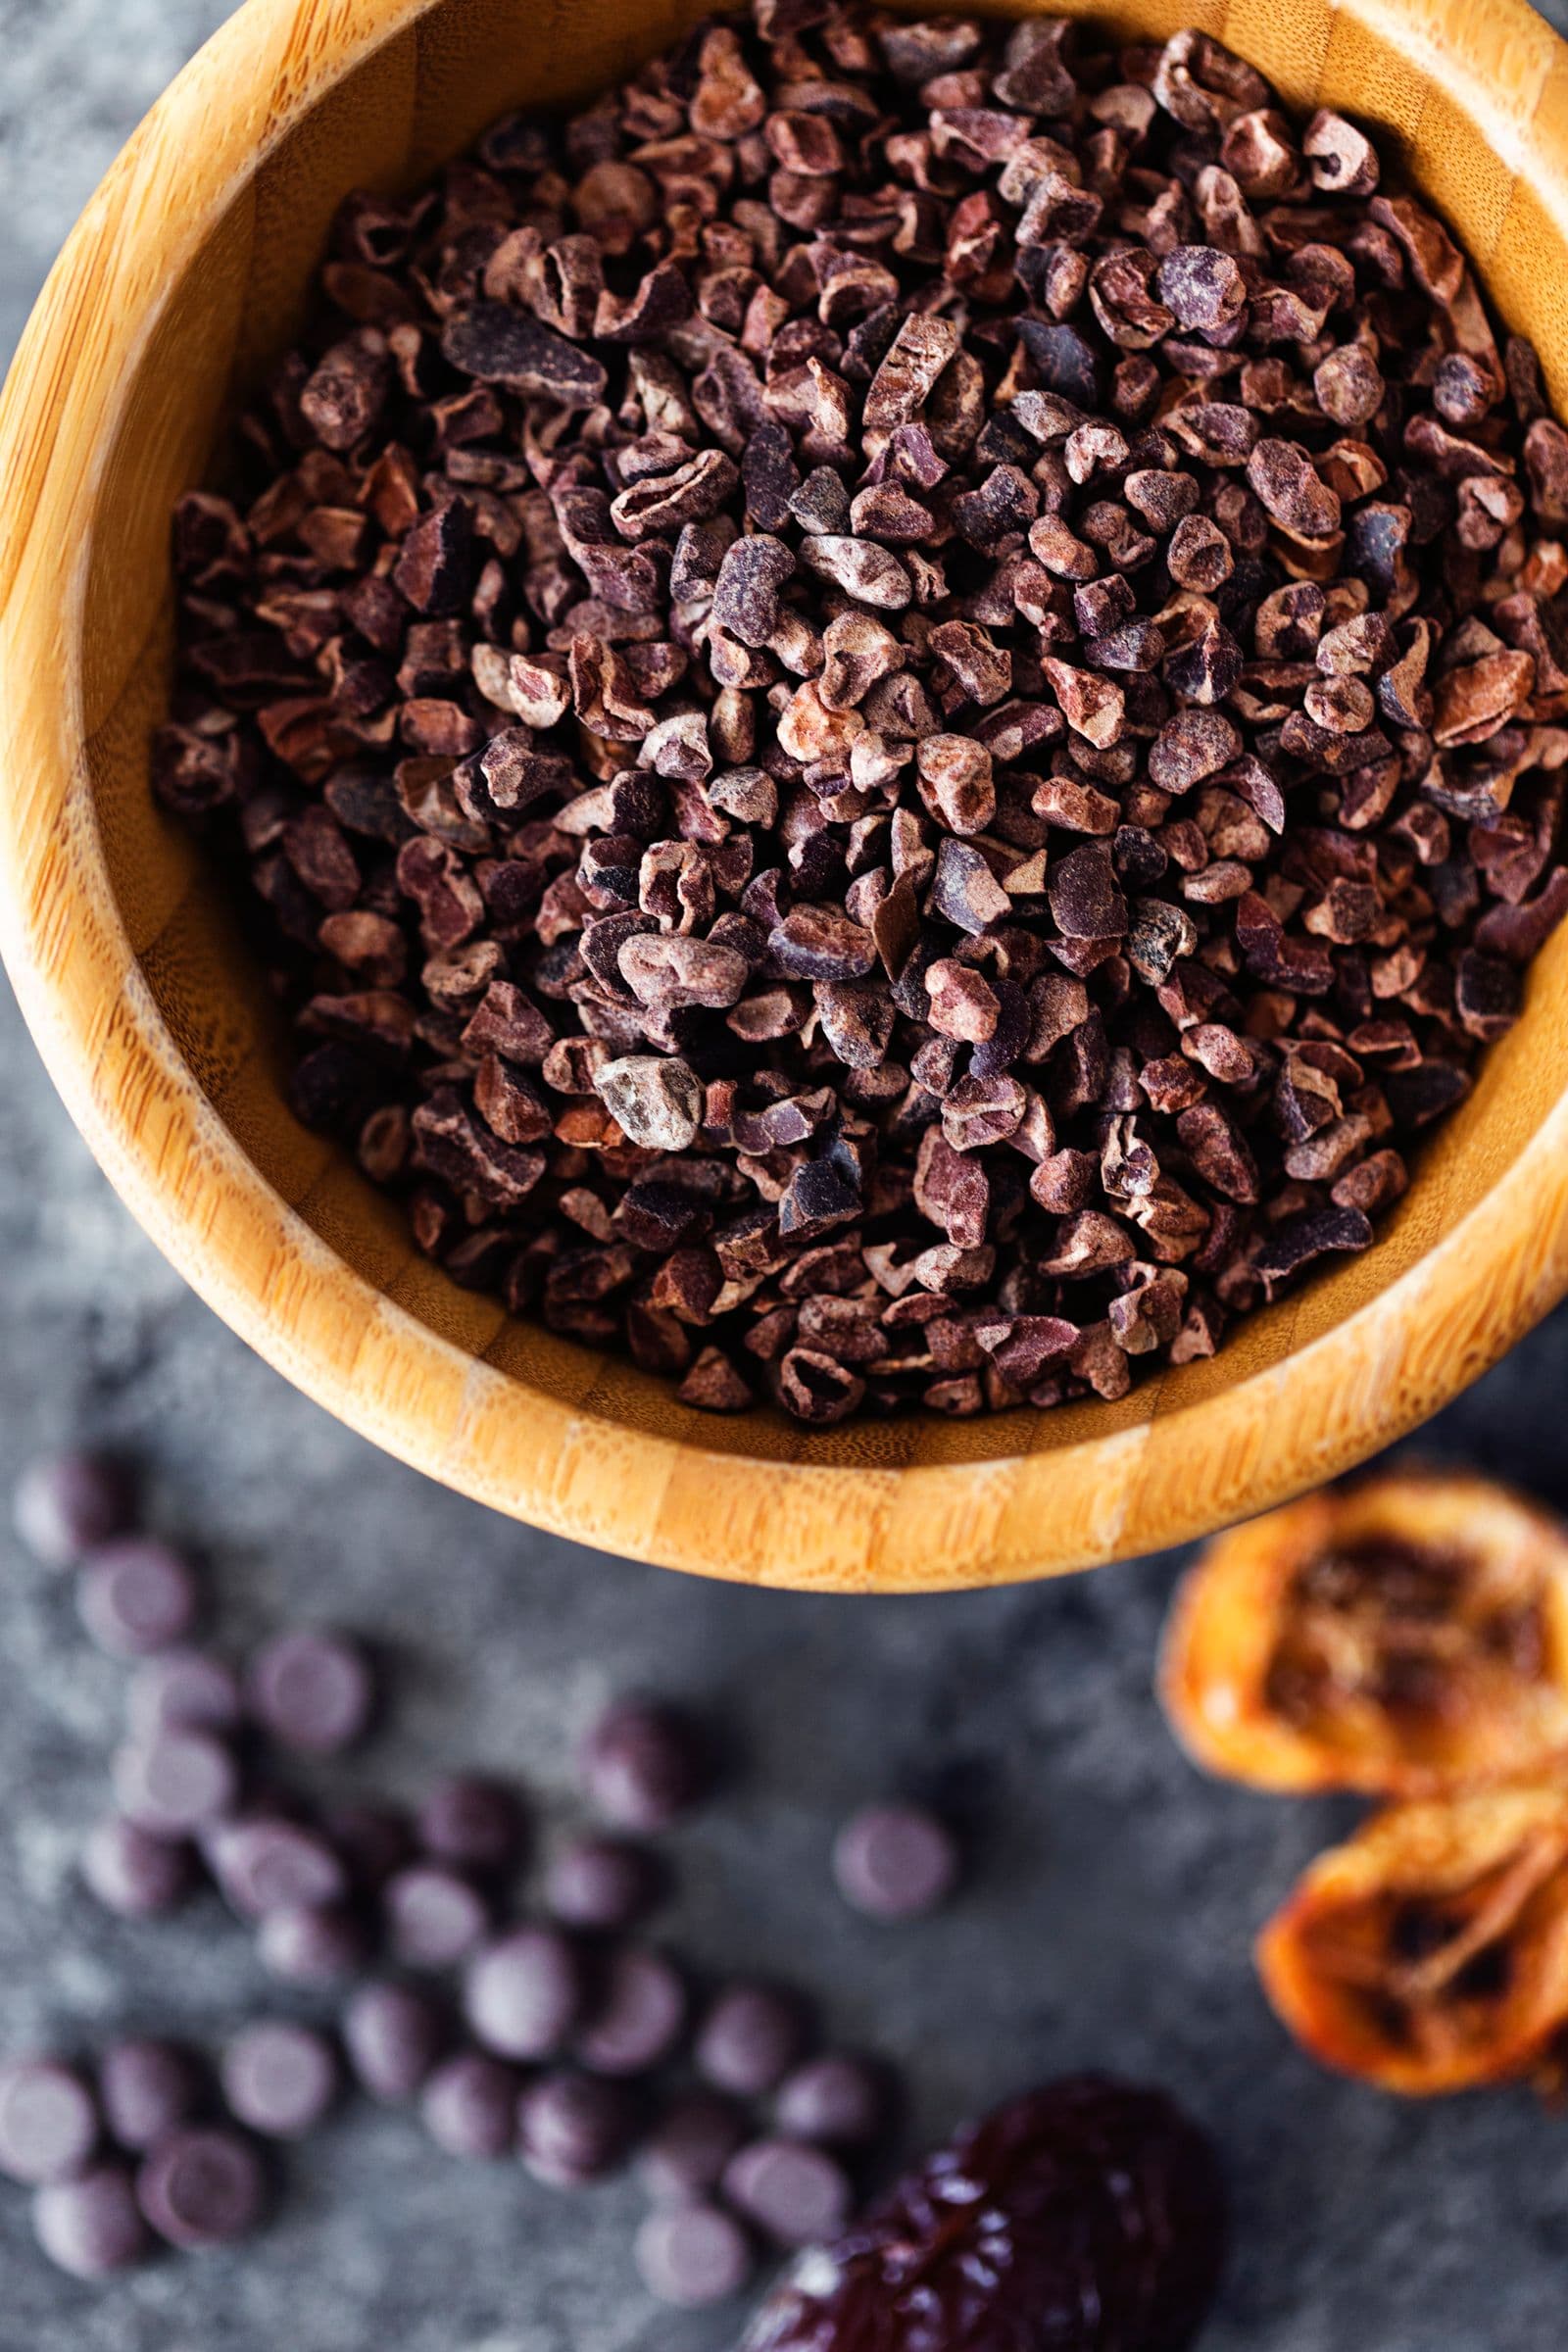
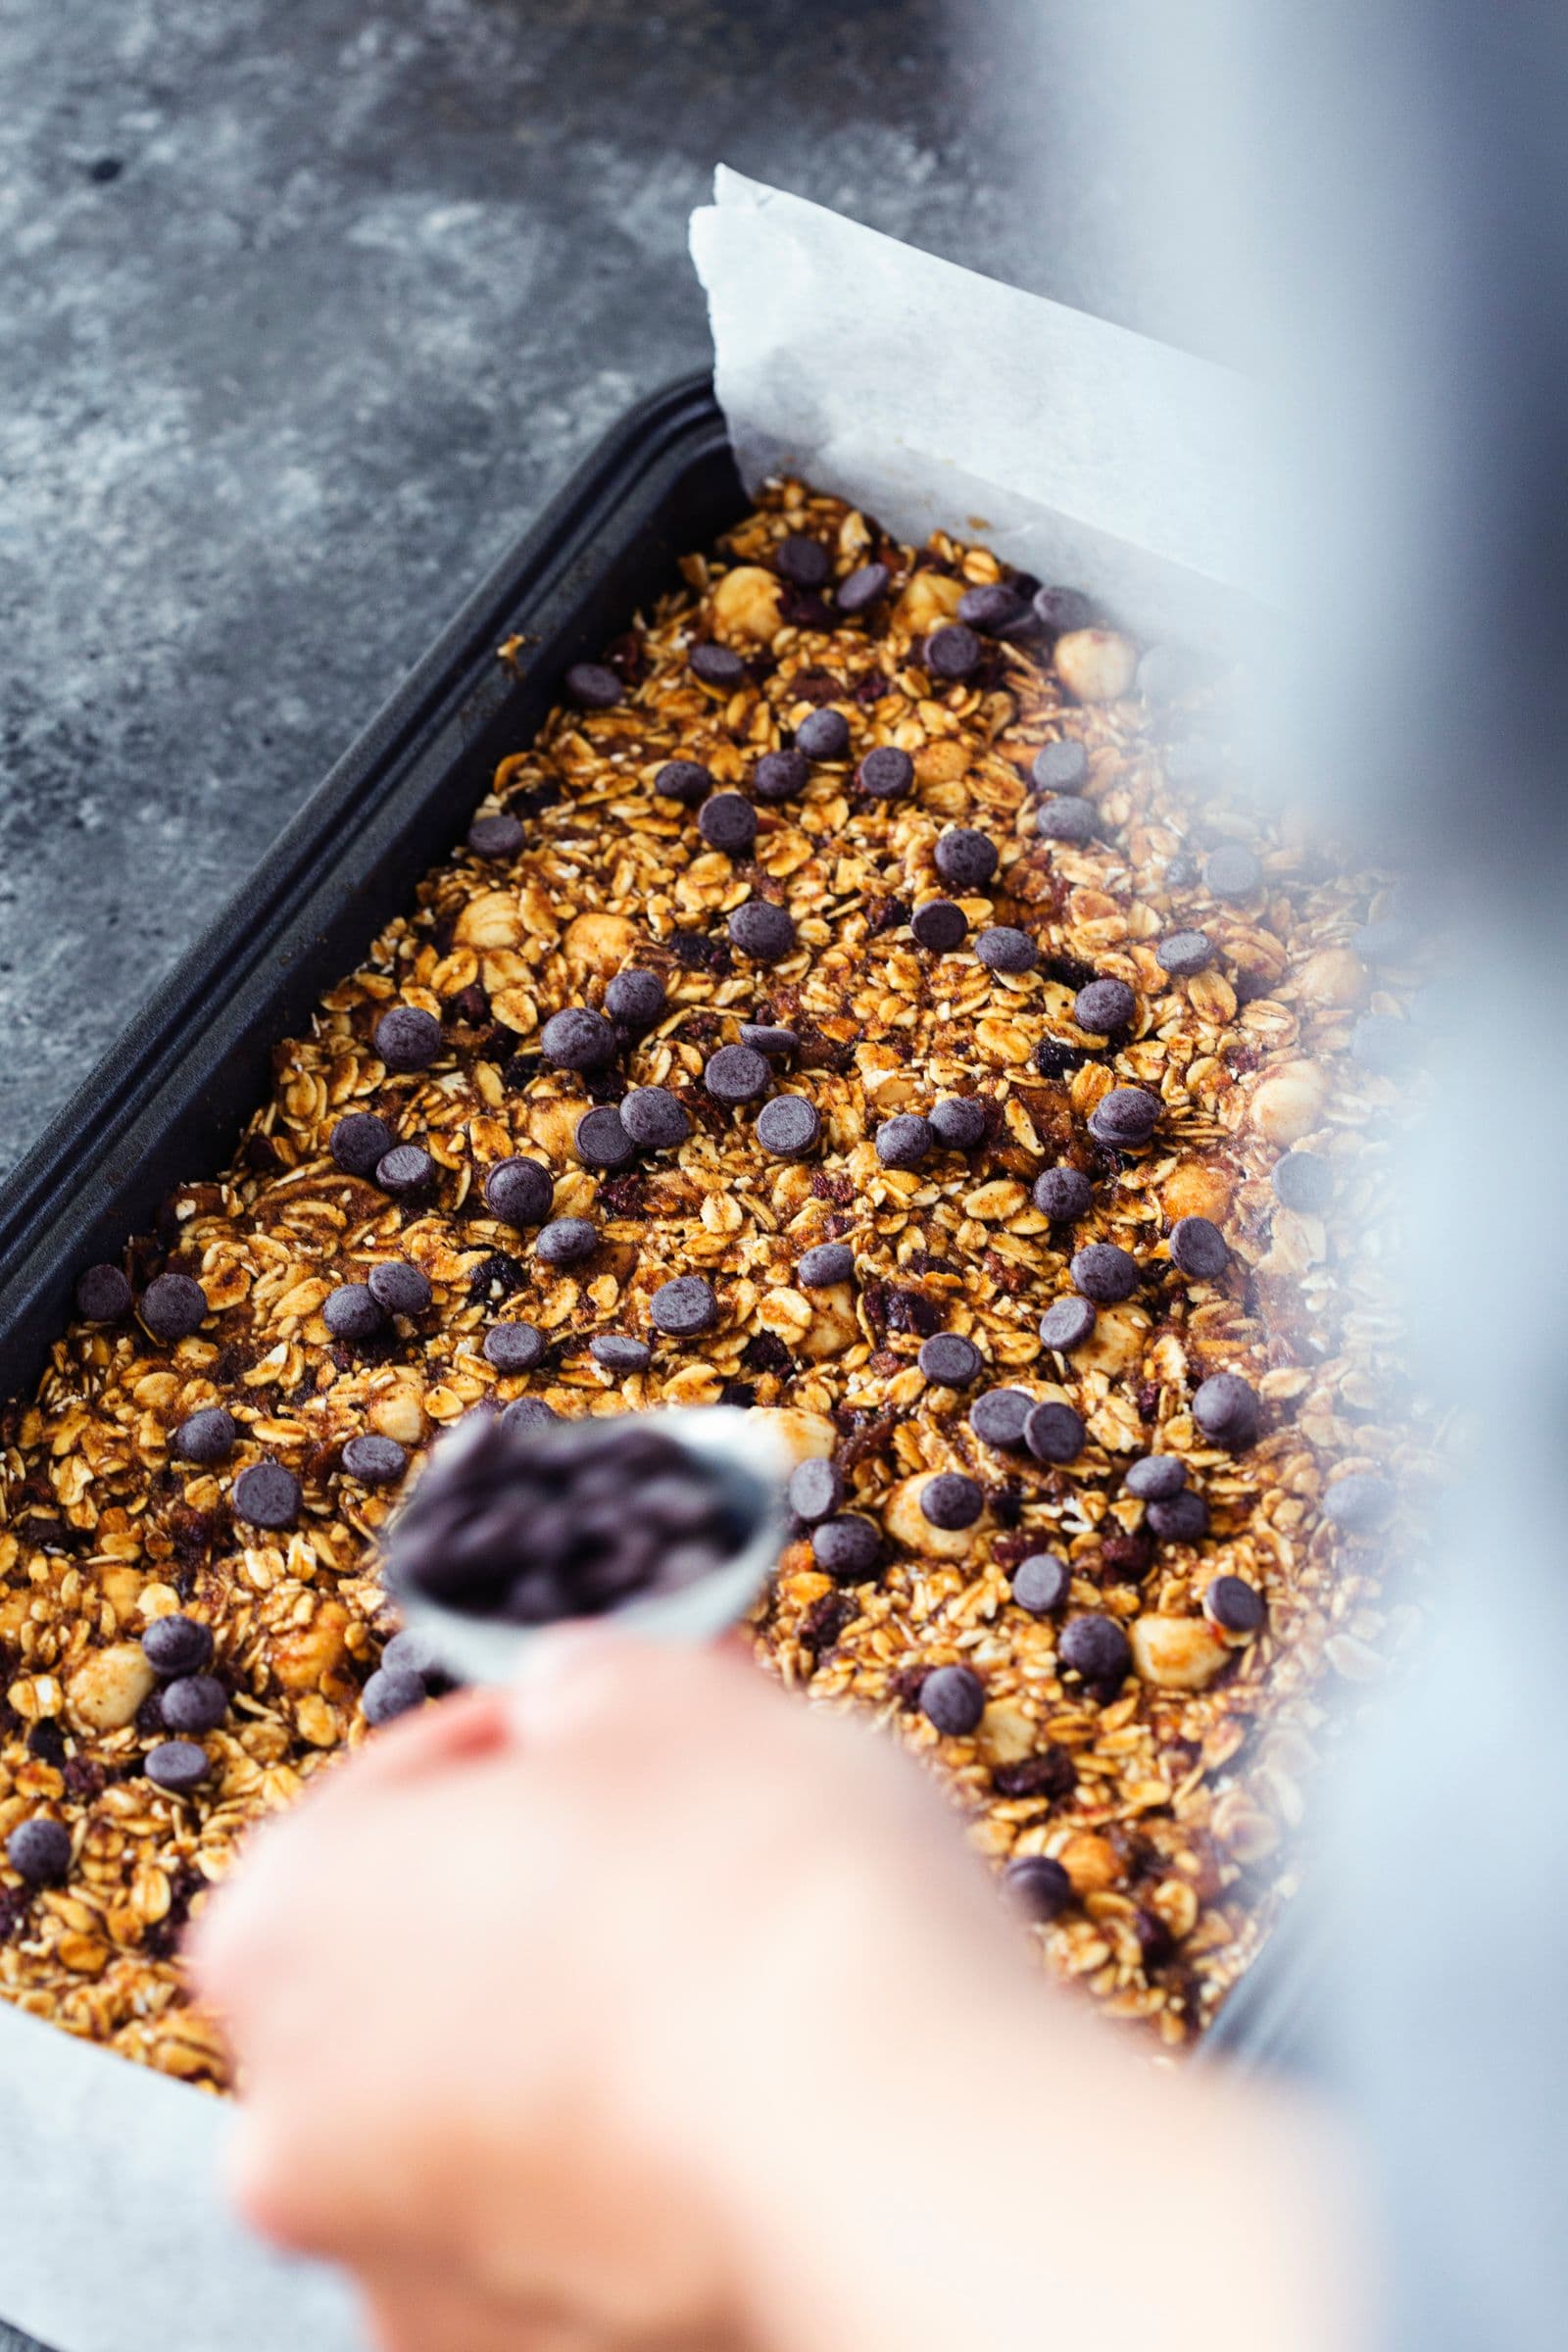
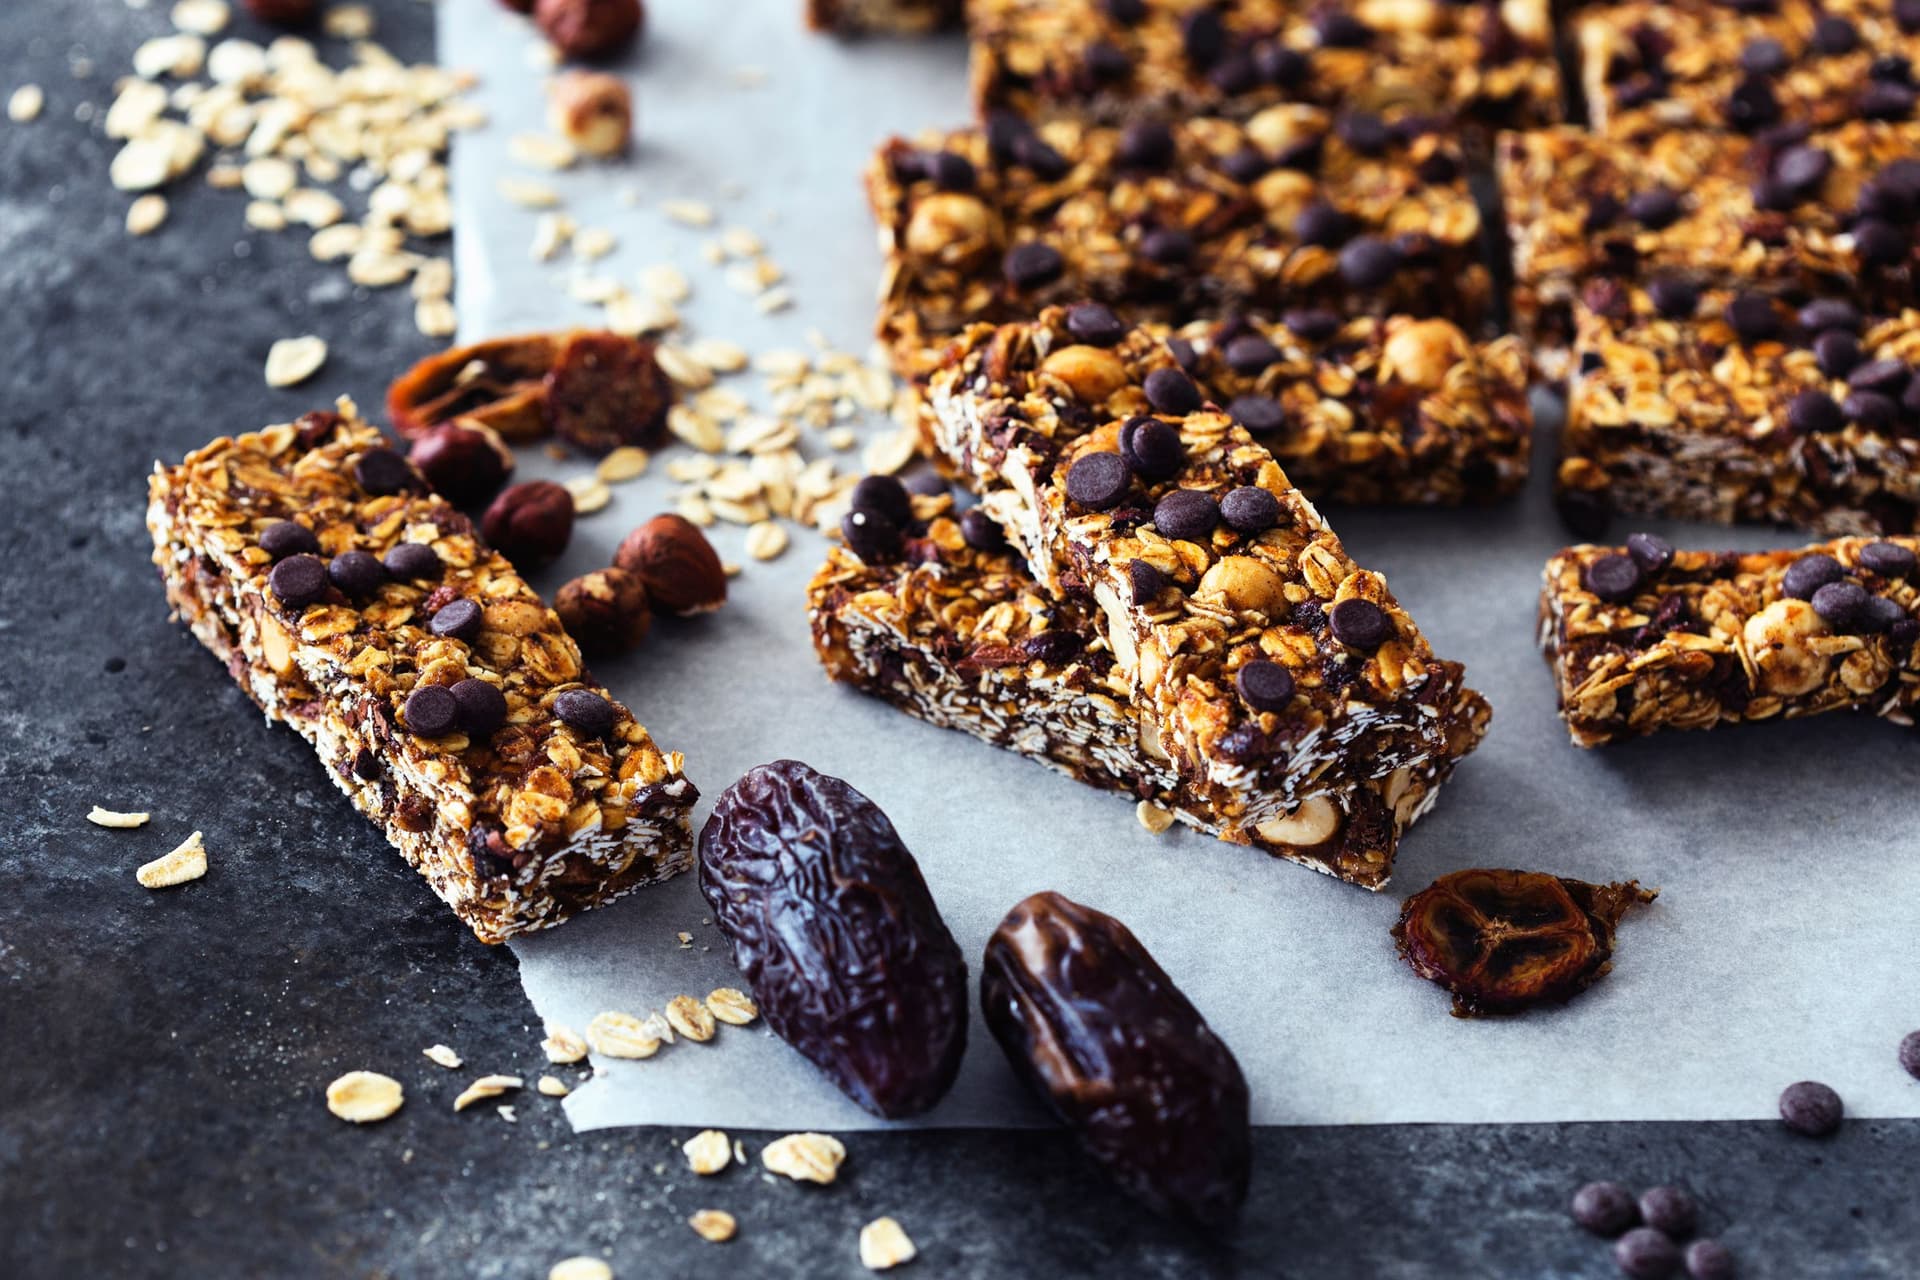
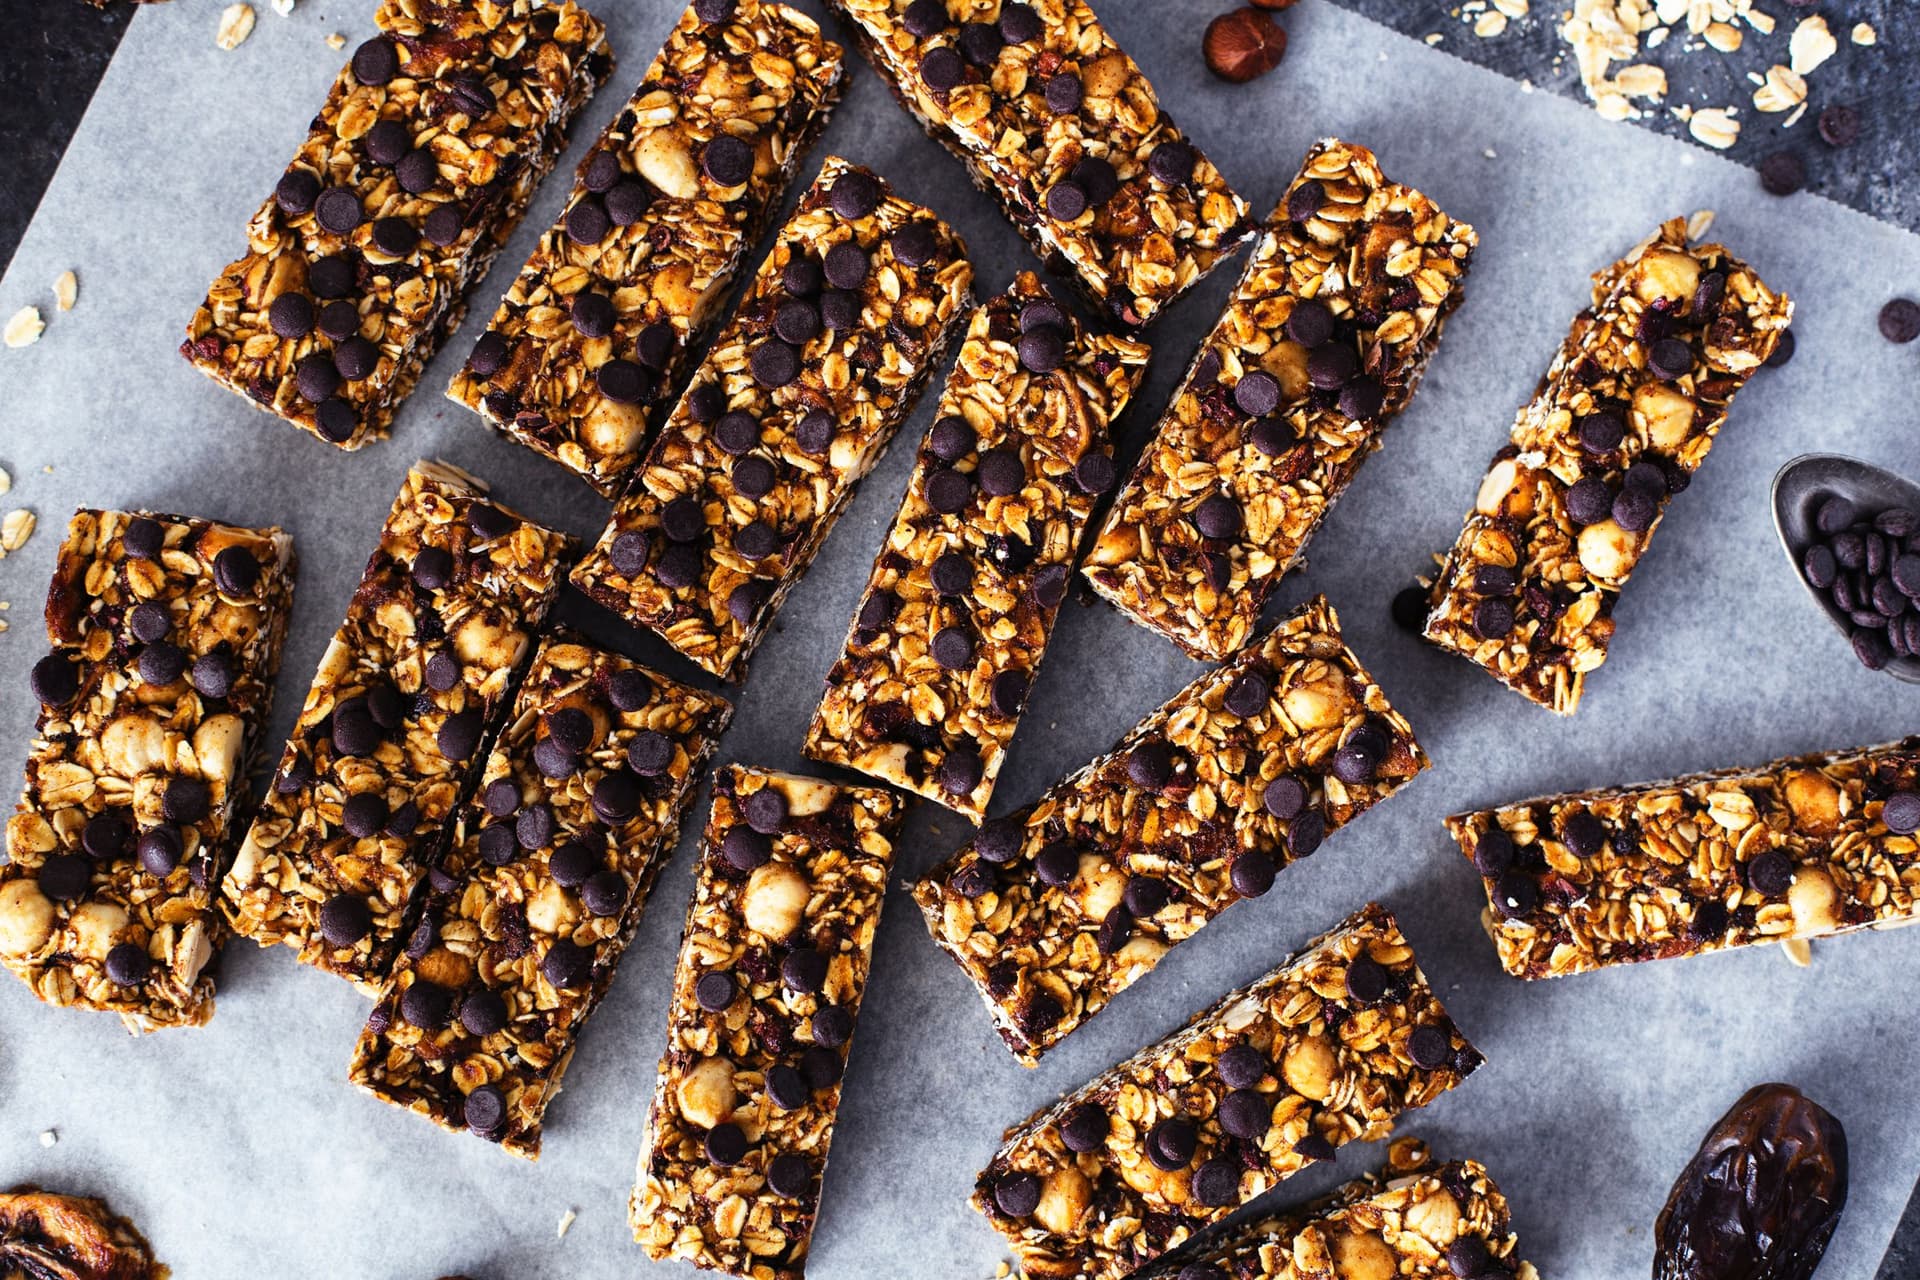
These are completely healthy because they are packed with natural, clean ingredients. They are 100% naturally sweetened and there is absolutely no need to worry about all those added sugars and nasties that are usually presented in store bought granola bars. They're chewy and gooey thanks to the dehydrated banana, the dates and the roasted hazelnut butter but they've still got that perfect crunch from the roasted hazelnuts, cacao nibs and vegan chocolate chips. This recipe is super quick to make and it will provide you with loads of bars to get your motors going in those lazy afternoons. What more could we hope for? Let us know what you think of this recipe in the comments below!

Overhead of oats, cacao nibs and other ingredients in glass jars.
Pinterest Icon
Close-up of rolled oats in a glass jar.
Pinterest Icon
Wooden bowl with cacao nibs next to banana chips and dark chocolate chips.
Pinterest Icon
Assorted ingredients including dates, hazelnuts, banana chips and a bowl of nut butter.
Pinterest Icon
Whole hazelnuts in a metal bowl, surrounded by dates and other ingredients.
Pinterest Icon
Hands mixing sticky granola dough in a white bowl.
Pinterest Icon
Scooping and spreading granola dough into a lined baking tin.
Pinterest Icon
Pressing granola mix evenly into baking tin with hands.
Pinterest Icon
Sprinkling chocolate chips over pressed granola mixture.
Pinterest Icon
Cut granola bars on parchment with scattered ingredients, shown from above.
Pinterest Icon
Close-up of sliced granola bars with visible oats, chocolate chips and dried fruit.
Pinterest Icon
Multiple granola bars laid out on parchment in an irregular pattern.
Pinterest Icon
Side view of cut granola bars with scattered ingredients around them.
Pinterest Icon
Multiple granola bars laid out on parchment in an irregular pattern.
Pinterest Icon
Petals
Hazelnut, Banana & Chocolate Chip Granola Bars
Leave a Comment
16 portions
1 hour
Ingredients
DRY INGREDIENTS
  • 200 g organic rolled oats
  • 100 g hazelnuts
  • 35 g cacao nibs
  • 60 g dehydrated banana slices, cut into quarters
WET INGREDIENTS
  • 8 medjoul dates, pitted
  • 60 ml roasted hazelnut butter (make your own just as you would make this roasted almond butter)
  • 60 ml rice malt syrup
TOP WITH
  • 30 g vegan dark chocolate chips
Instructions

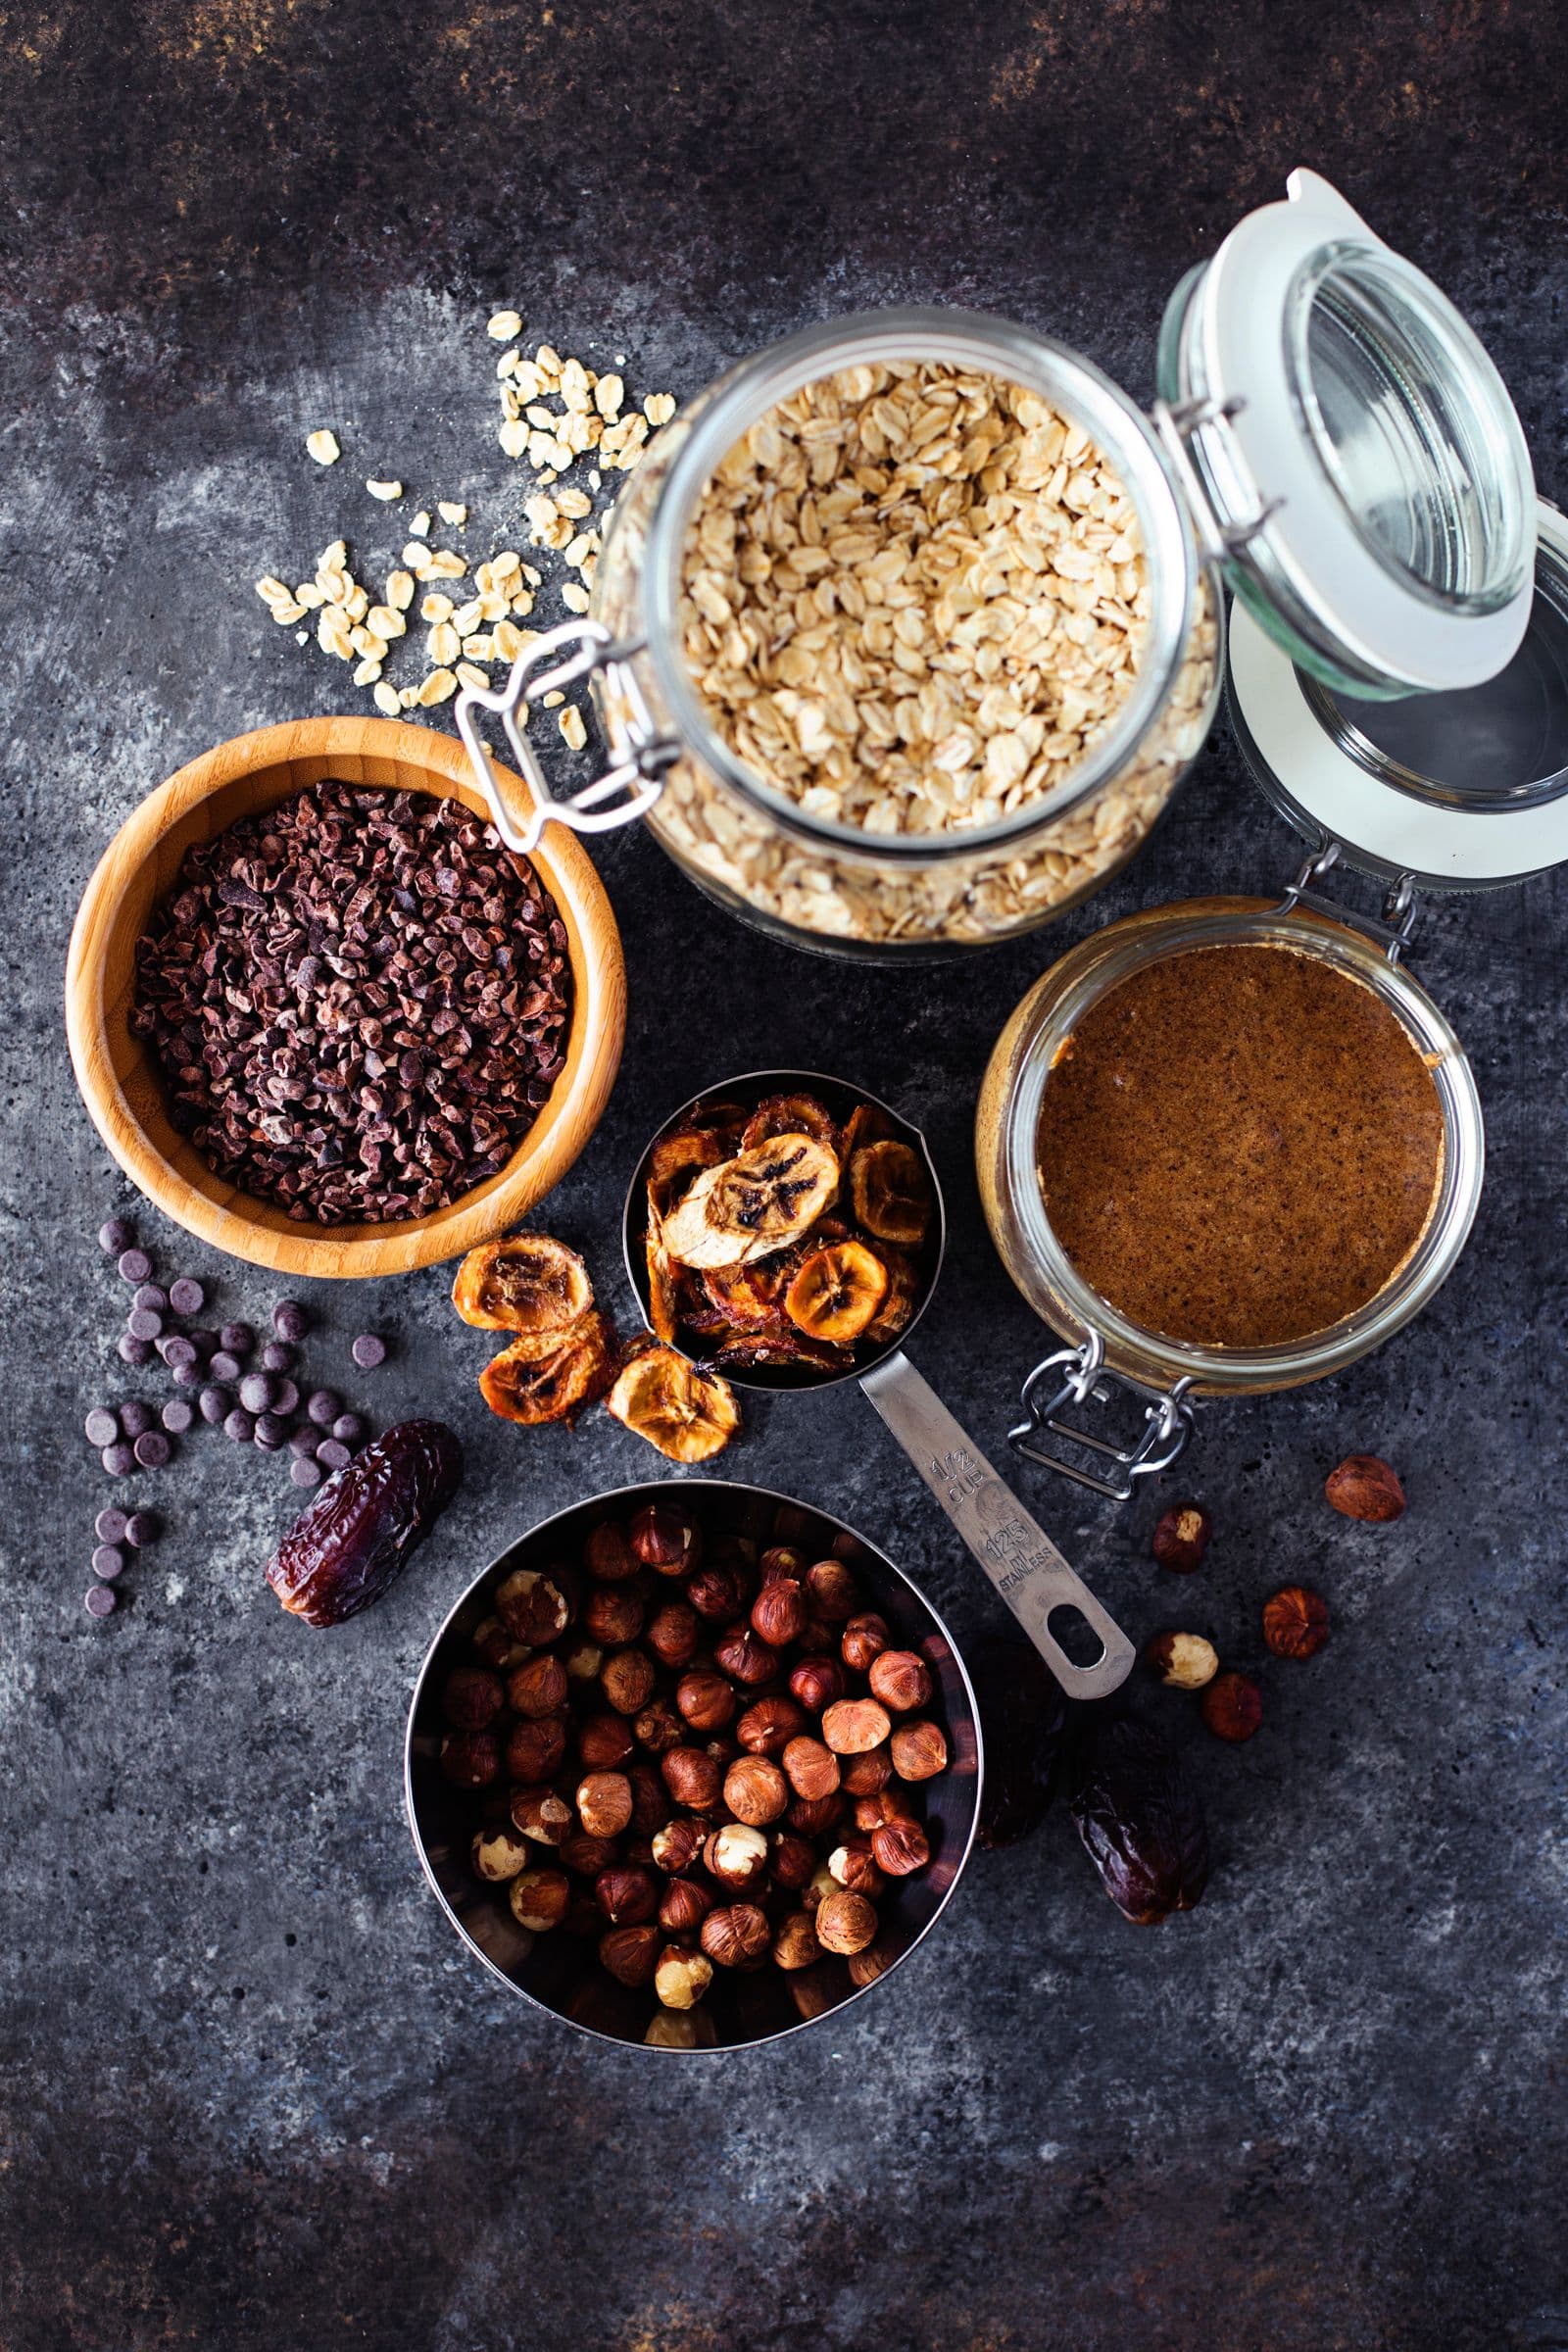
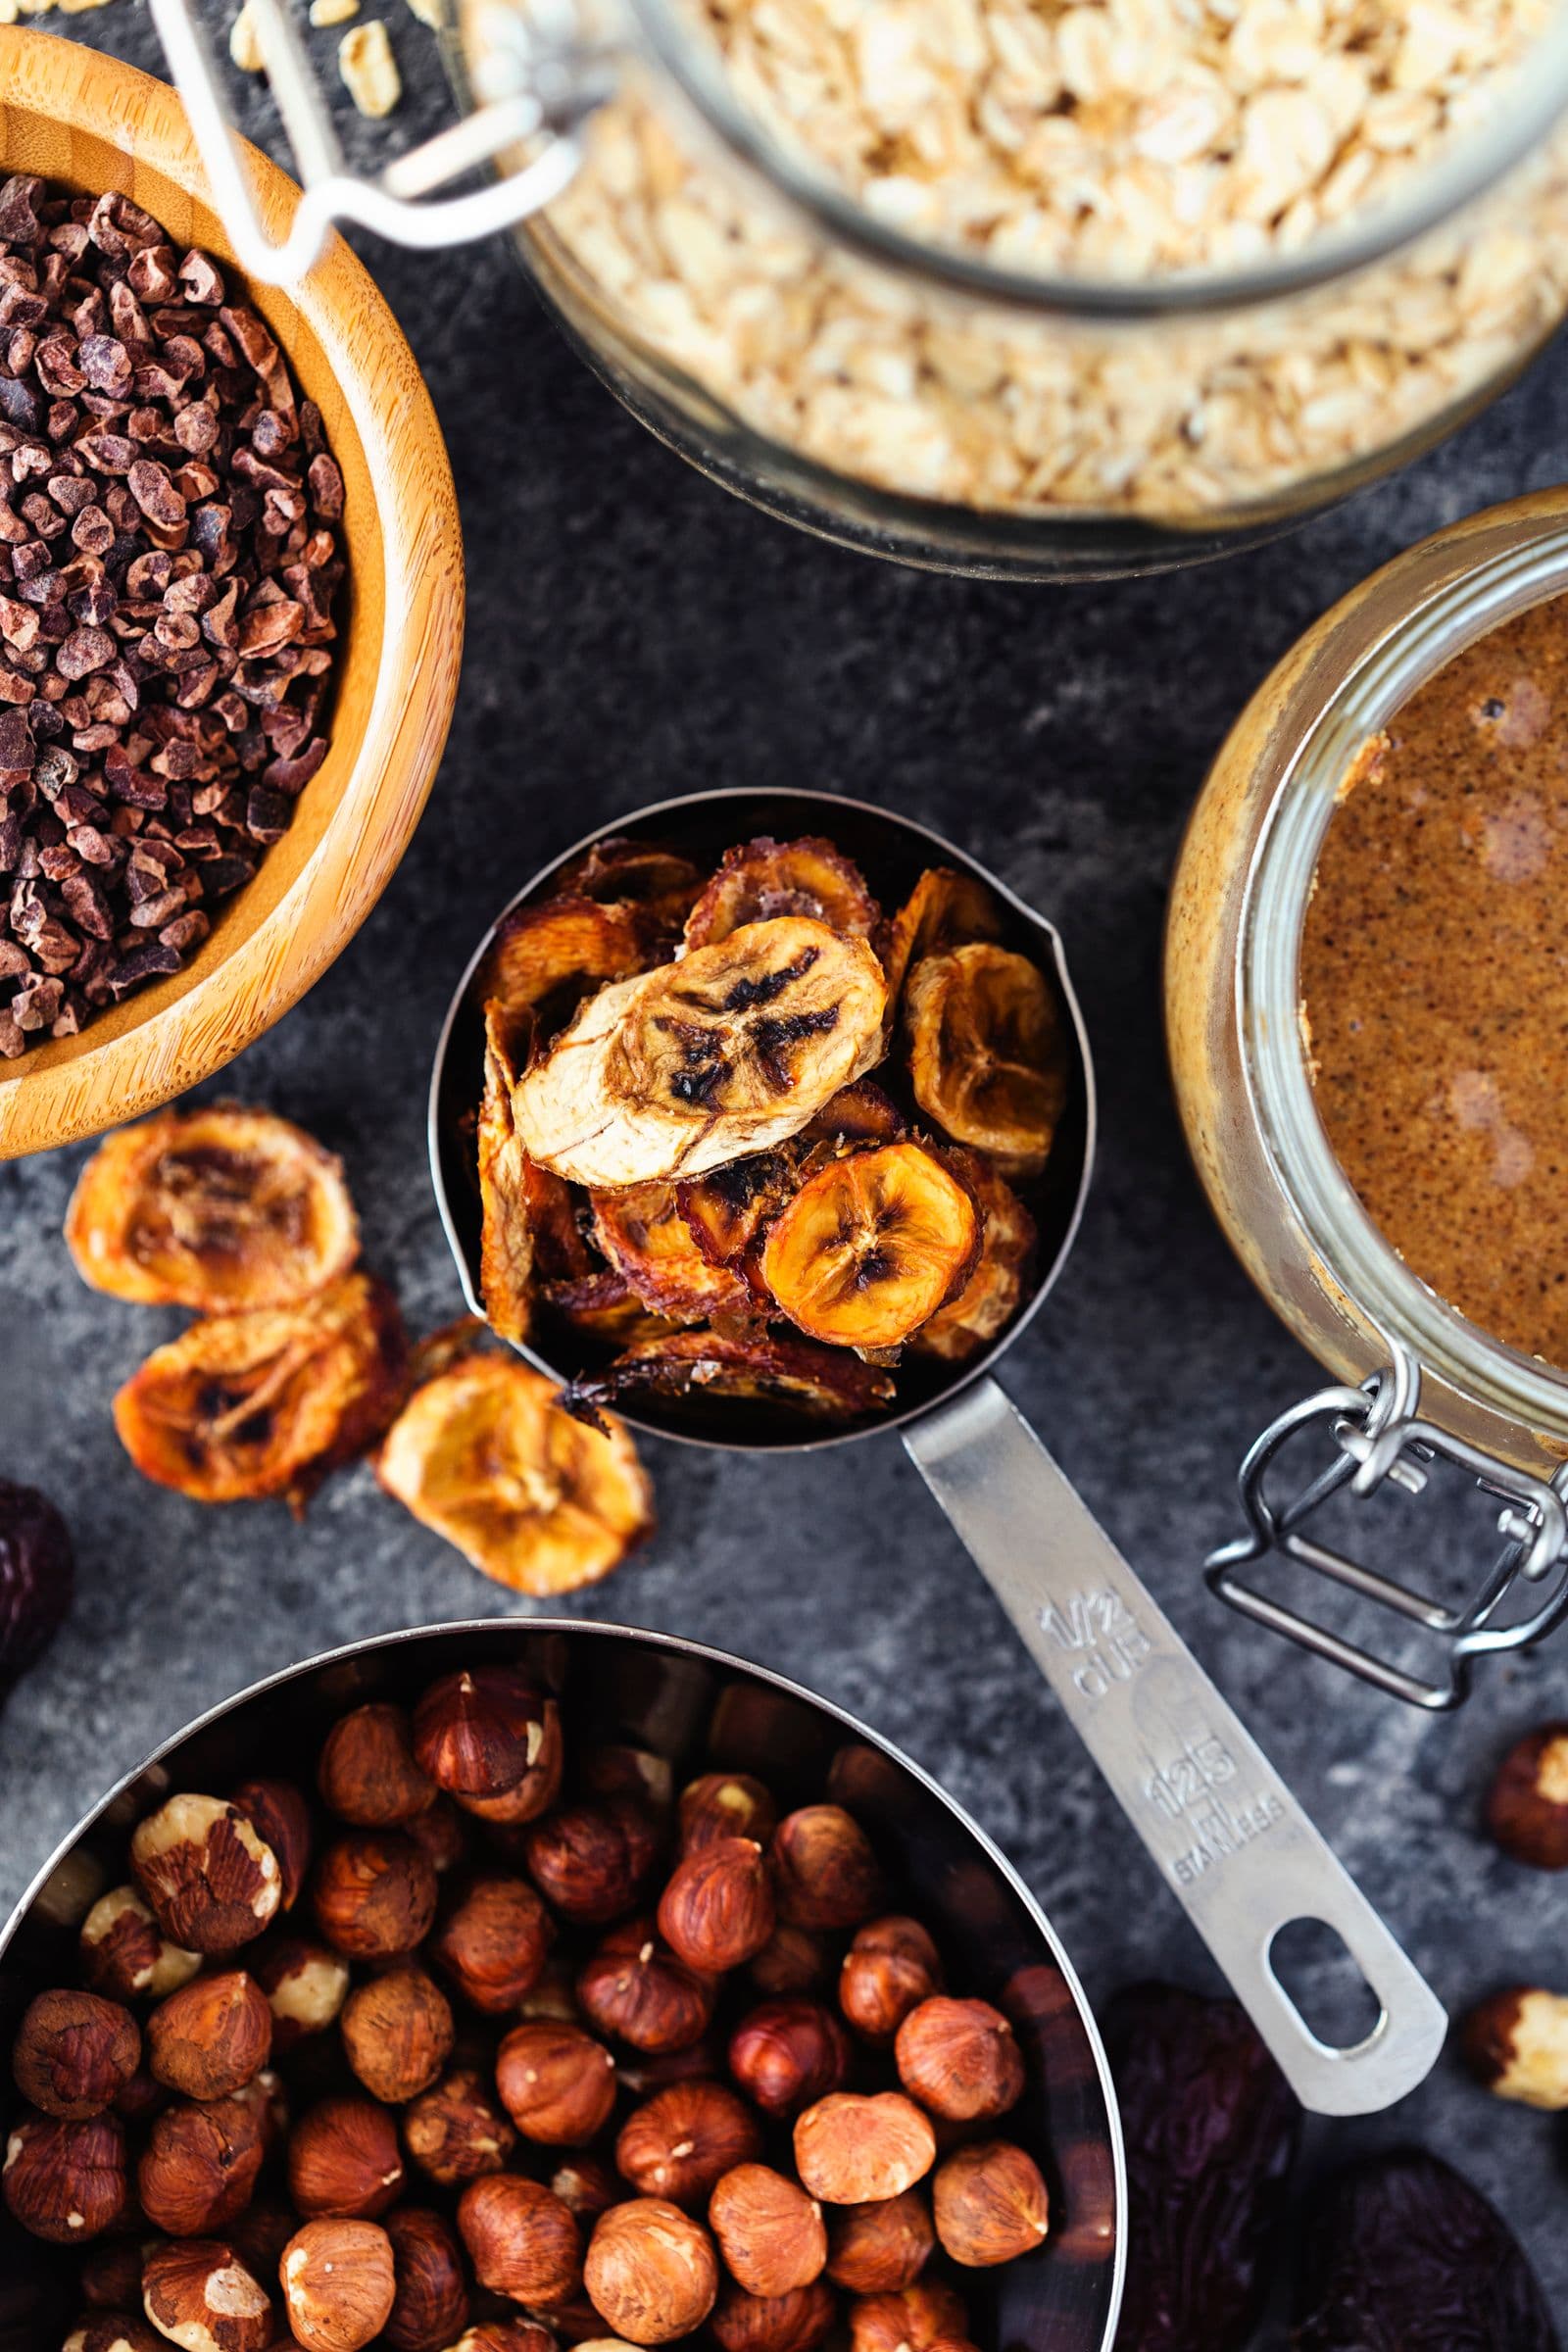
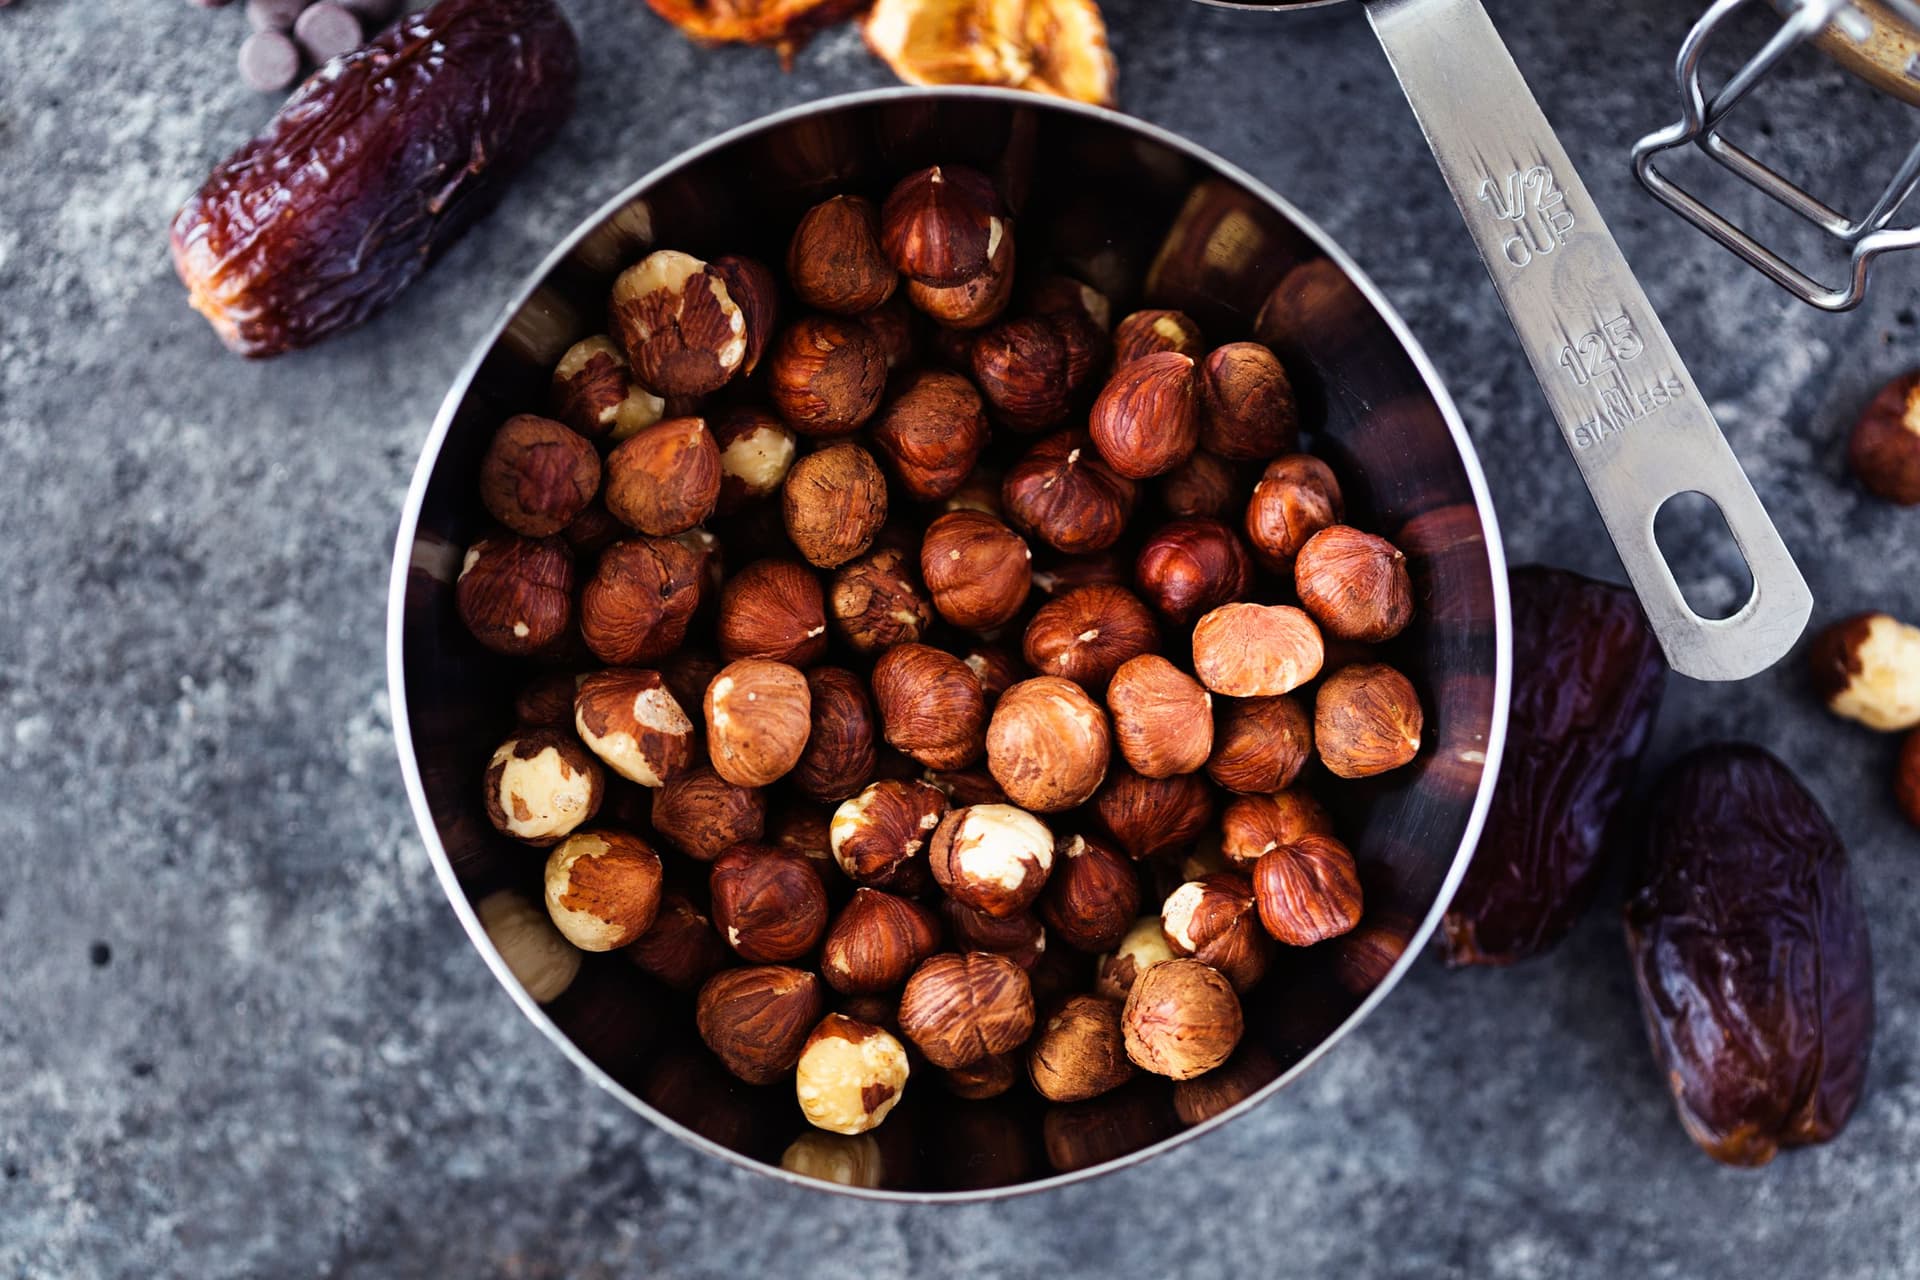
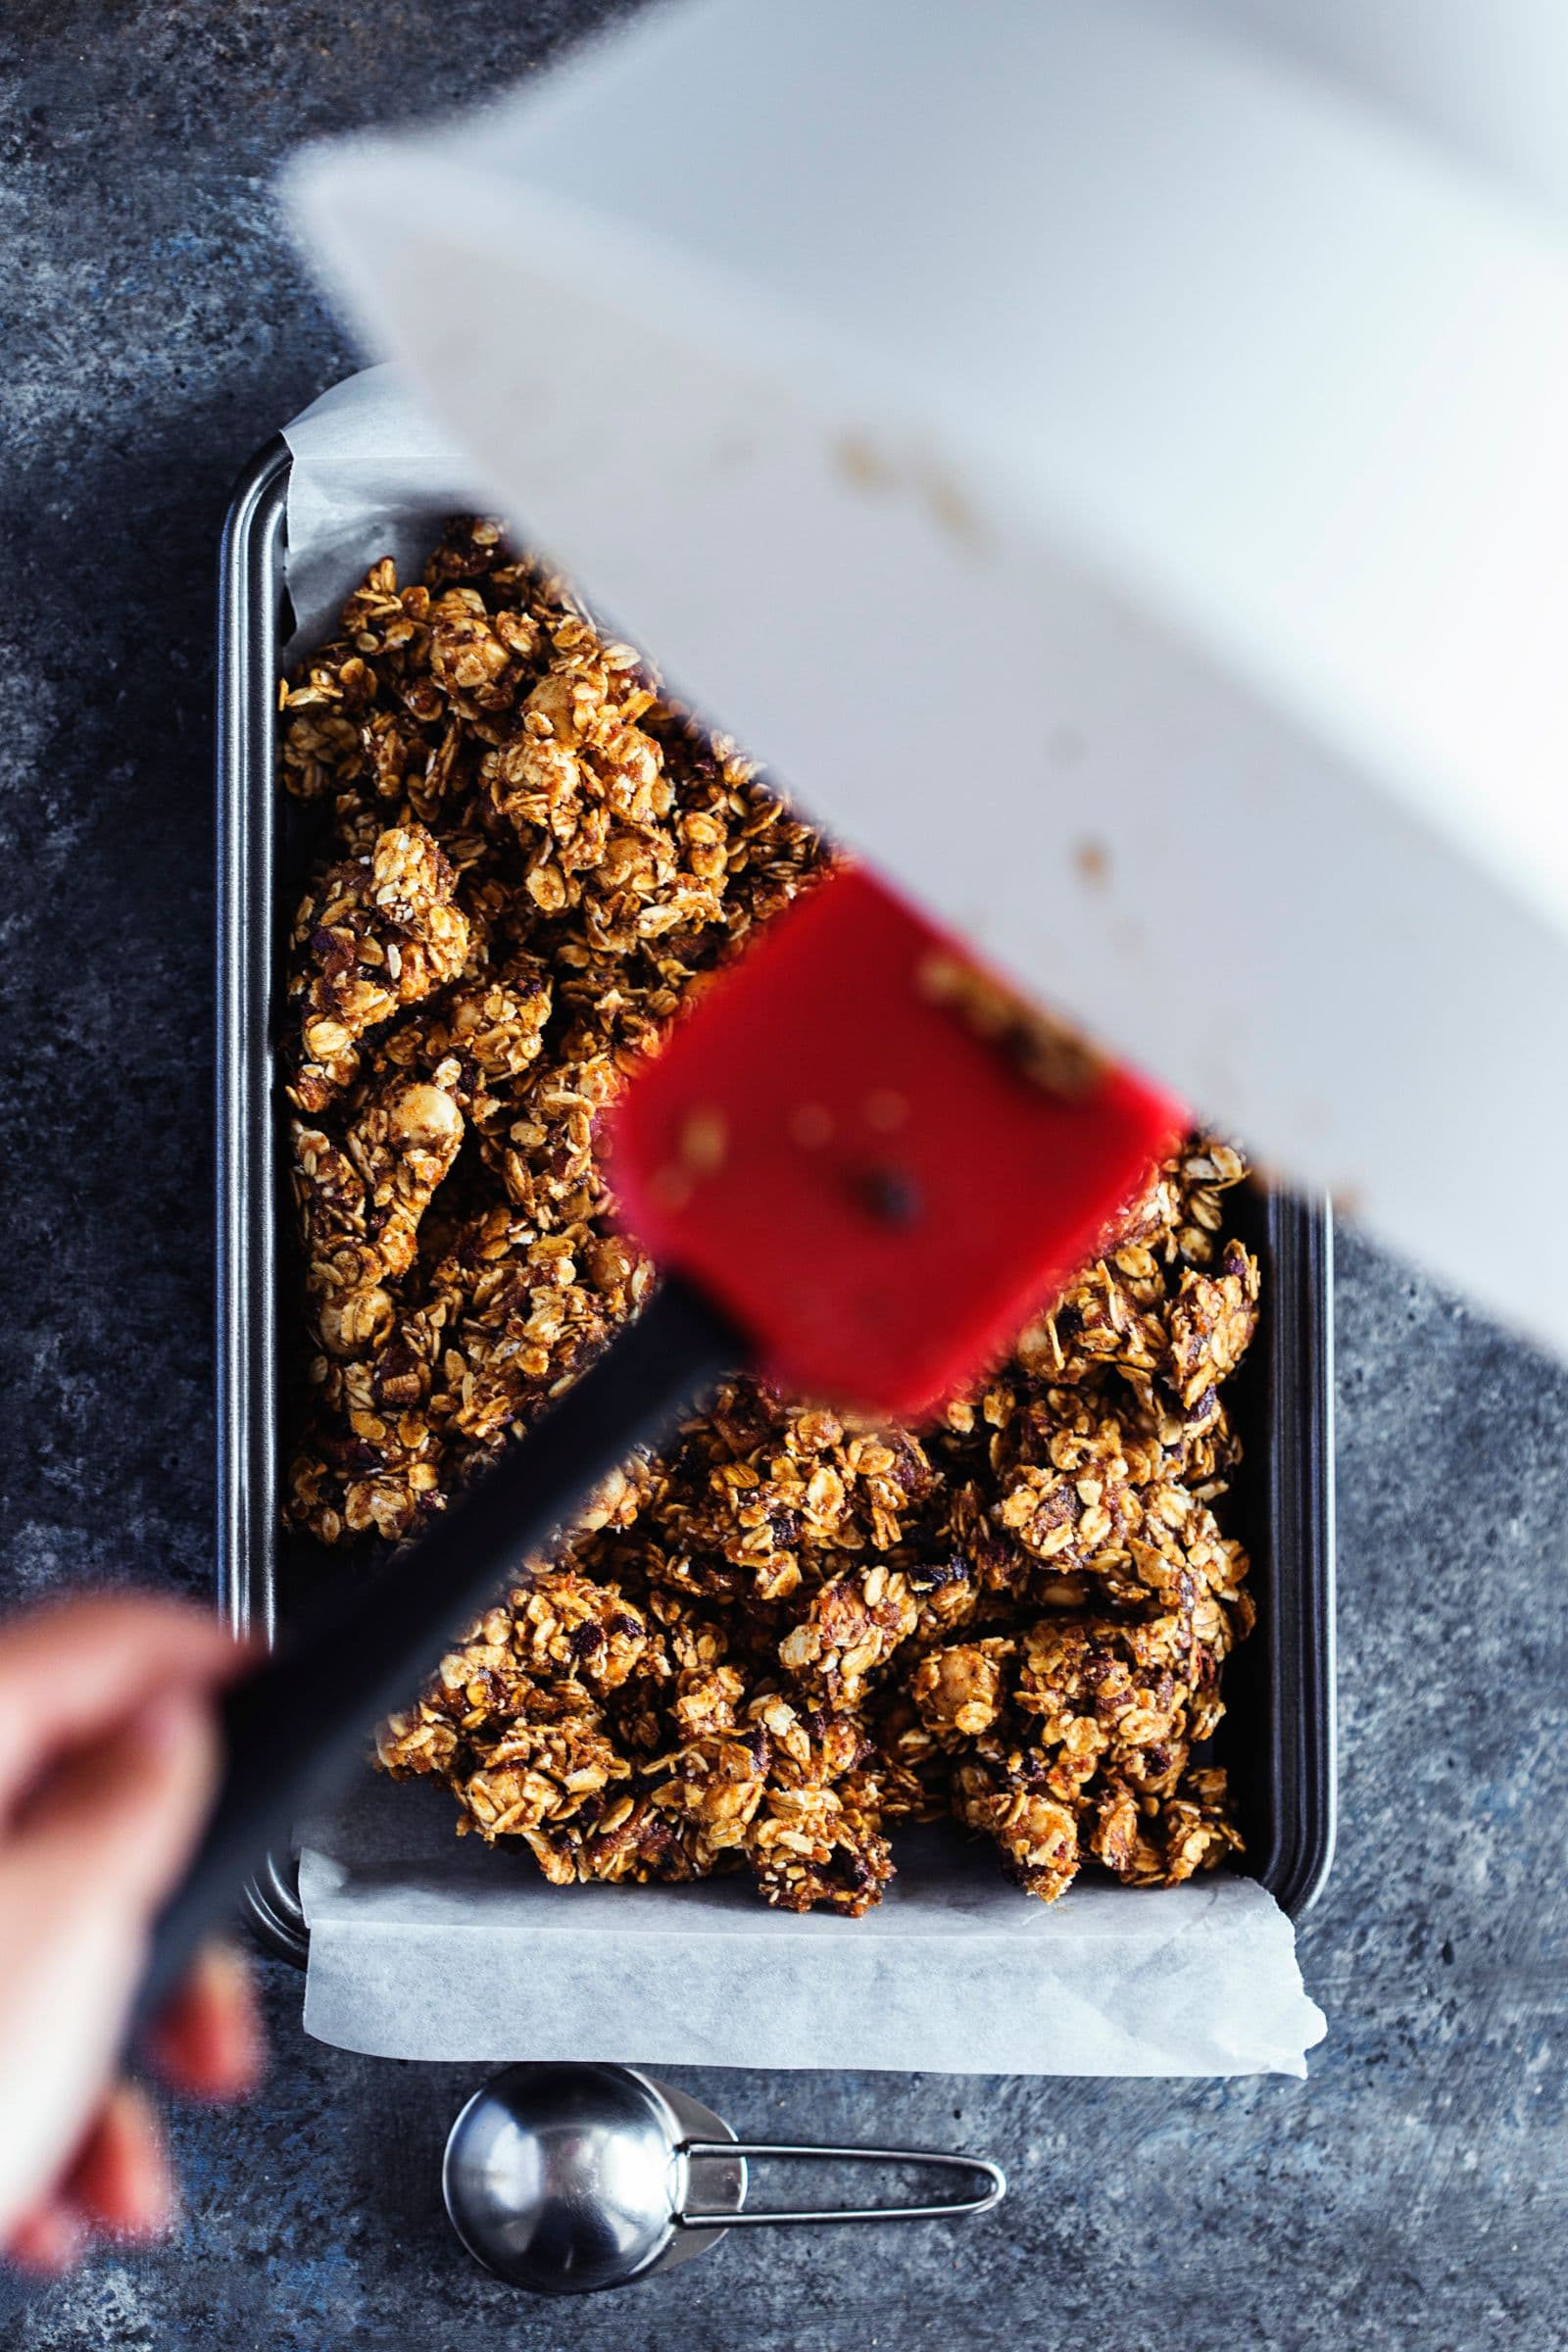
Start by gathering, preparing and measuring all of the ingredients. This will improve your dynamic in the kitchen.

  1. Preheat your oven to 150ºC (300ºF).
  2. Place the rolled oats and hazelnuts in separate trays.
  3. Toast each tray with the oats and hazelnuts in the oven for 20 minutes.
  4. Meanwhile, soak the pitted medjoul dates in a small bowl with warm water, for approximately 10 minutes.
  5. Remove trays from the oven and allow the oats and hazelnuts to cool down. Gently rub the hazelnuts with your hands or a kitchen cloth to remove their skins.
  6. In a mixing bowl, mix the toasted oats and hazelnuts with the rest of the dry ingredients.
  7. Drain the medjoul dates and squeeze them gently to remove any excess water.
  8. Throw the dates in your food processor, along with the hazelnut butter and rice malt syrup and blend for a while, until you get a caramel-like smooth mixture.
  9. Pour the wet mixture over the dry ingredients and mix thoroughly using a spatula or your own hands. It is supposed to be a thick and dense mixture.
  10. Pour this mixture in a rectangular or square pan (we used a 10" x 7" brownie pan) and press it down firmly with your hands. Make sure it is tightly and evenly packed.
  11. Sprinkle the chocolate chips on top and press them gently into the granola mix.
  12. Place the pan in the freezer for about half an hour to allow the granola mix to set.
  13. Remove from freezer and cut immediately into bars or squares. Store in an airtight container.
Add Comment
Your email will not be published.
3 Comments
Minniesays:
September 9th, 2017
The photos and designs on this blog are so stunning! Loved this recipe.
Rita Parente
Rita Parentereplied:
September 10th, 2017
Thank you so much for your sweet words, Minnie! Your comment made my day :) xo
jgratessays:
April 12th, 2017
I love this idea. Store brought granola bars are so expensive & full of chemicals. I can’t wait to try these healthy one!
Rita Parente
Rita Parentereplied:
April 18th, 2017
Hi Jane! 😊 That was totally our point, to stop spending money for overpriced, unhealthy granola bars. We hope you enjoy these! xo
suzisays:
April 23rd, 2016
do we have to take skins off hazelnuts?
Rita Parente
Rita Parentereplied:
April 23rd, 2016
Hey Suzi :) I'm sorry we didn't mention that part in the recipe. We did take the skins off, but without too much work — they just rub off easily after you roast them in the oven! xo
More Snacks Recipes
See all Snacks recipes
Browse the eBooks
We Can Help You Cook More And Worry Less